


.jpg)
.jpg)
.jpg)
.jpg)
.HDi90.png)
.HD90.png)


.jpg)
.jpg)
.jpg)
.jpg)
.jpg)
.jpg)

.jpg)
.jpg)
.jpg)
.jpg)


.jpg)
.jpg)
.jpg)

.jpg)
.jpg)


-.jpg)
.jpg)
.jpg)
.jpg)


 Exclusive offers
promotions
Exclusive offers
promotions

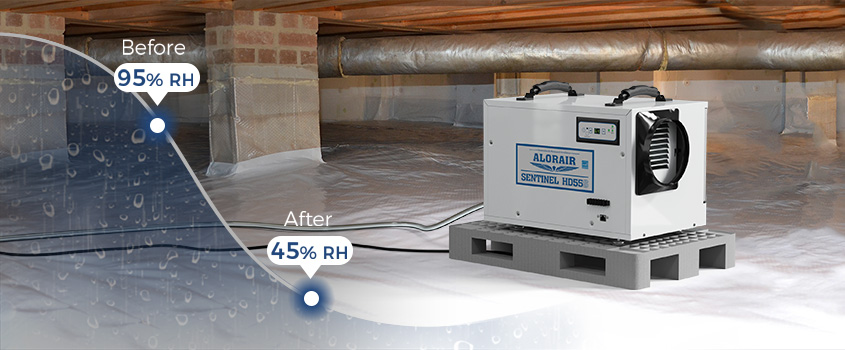
Mold growth, musty odors, structural damage, respiratory problems, and other issues result from having excess moisture in your crawlspace. Fortunately, crawlspace dehumidifiers can solve this never-ending damp problem. However, ensuring correct installation is essential to maximizing its moisture-removal potential.
To ensure peak performance and enduring service, keep reading the crawl space dehumidifier Installation guide. It will walk you through configuring your dehumidifier for crawl space humidity control and improved indoor air quality.
Tools and Considerations
Before starting the crawl space dehumidifier installation itself, gather the necessary tools and materials:
User Manual
Level
Safety glasses
Utility knife (if needed)
Adjustable wrench
Drain hose
Drill and drill bit (various sizes)
Caulk
A vapor barrier (6-mil polyethylene sheeting)
Heavy-duty staples/nails and a staple gun/hammer
Masking tape (optional)
Duct tape (optional)
Planning the Placement for Crawl Space Dehumidifier Installation
- Vapor Barrier Installation: Before installing the dehumidifier, focus on sealing your musty crawl space with a vapor barrier. This will prevent and remove excess moisture that may be migrating upwards from the ground into your living space.
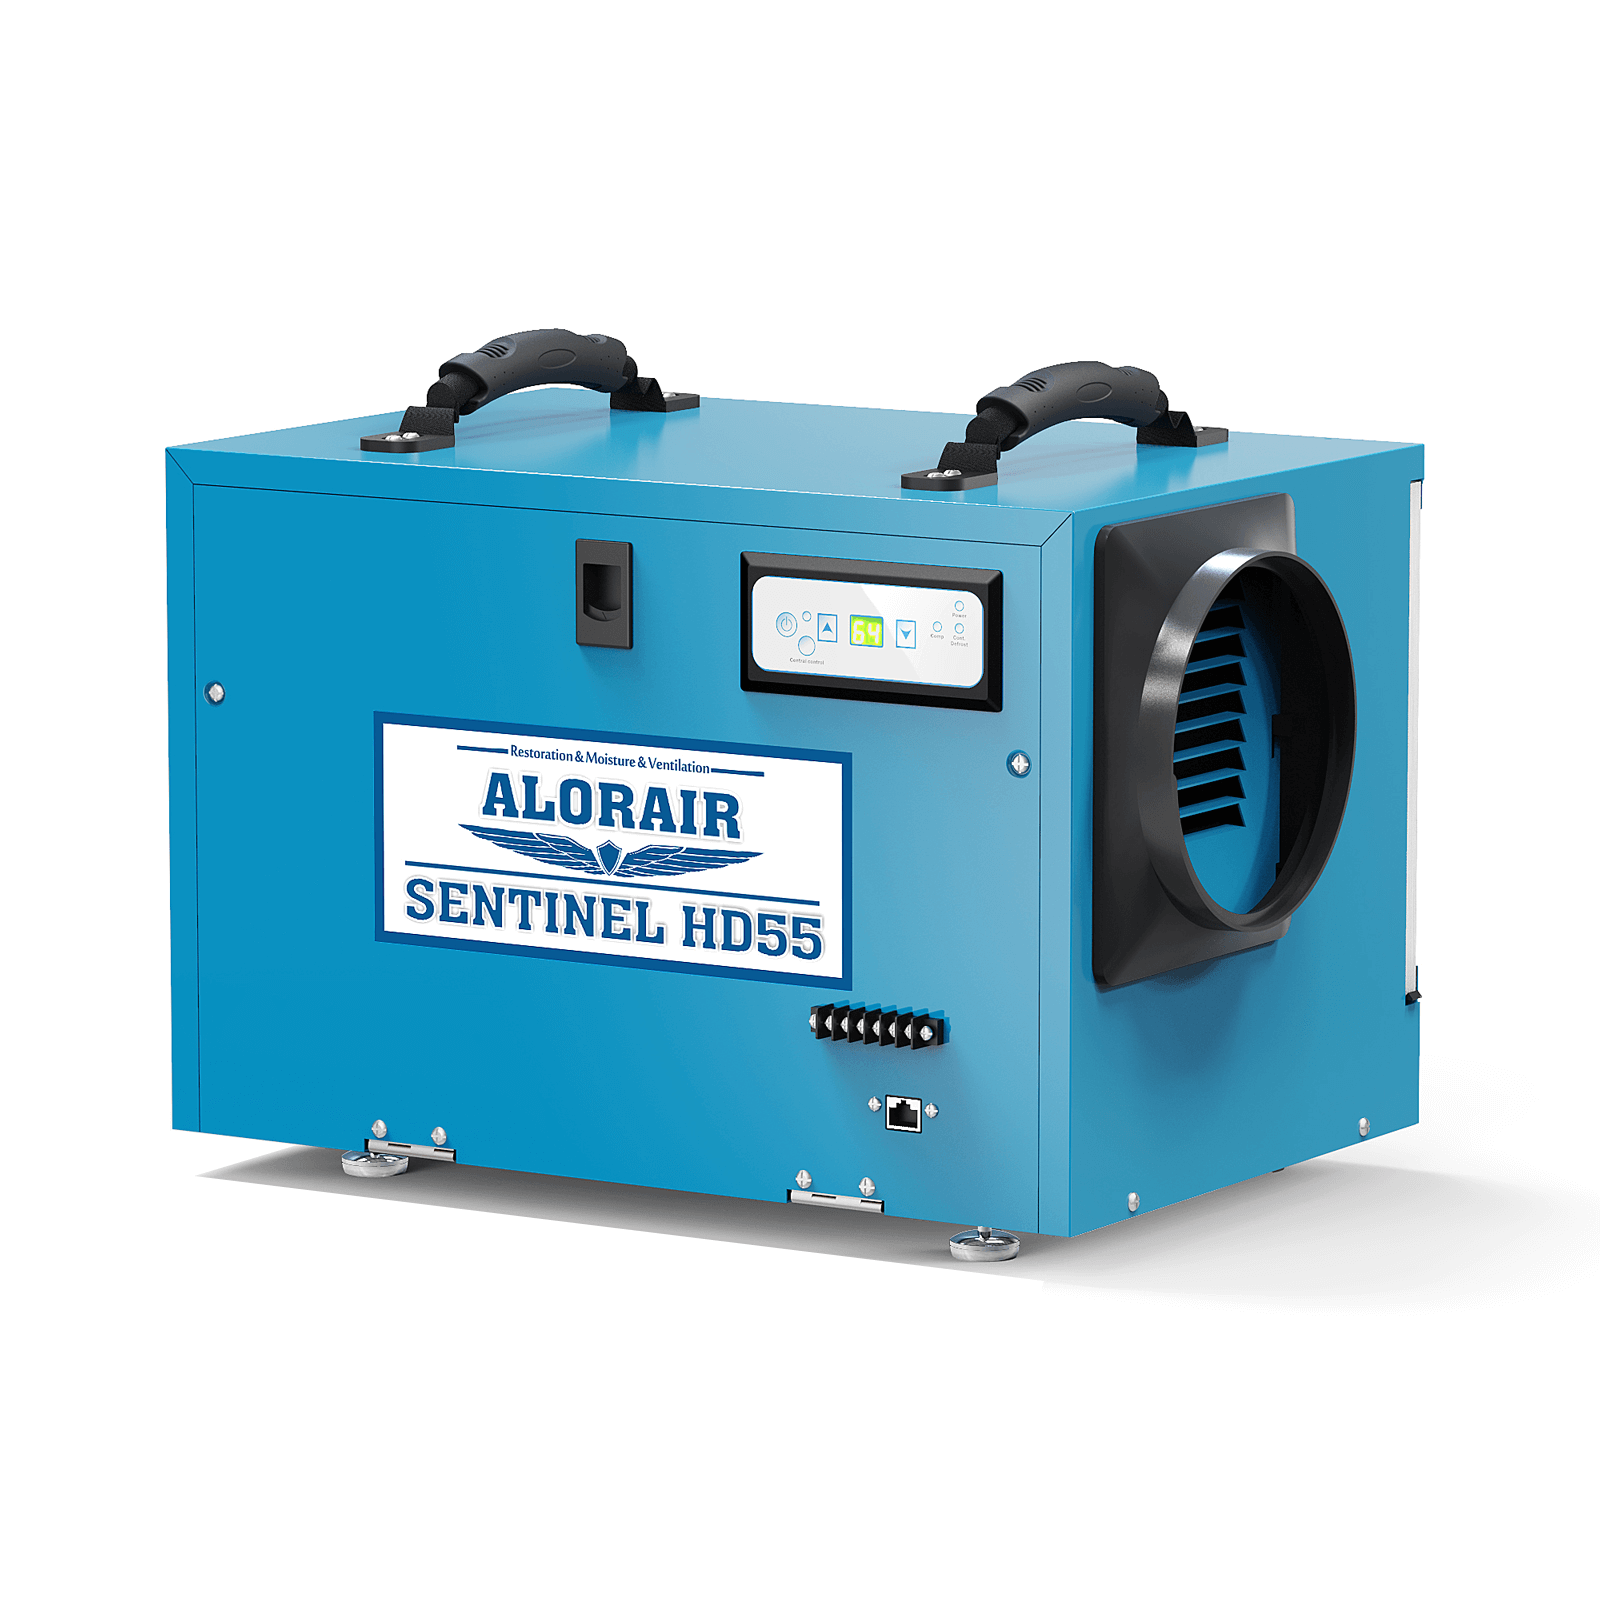
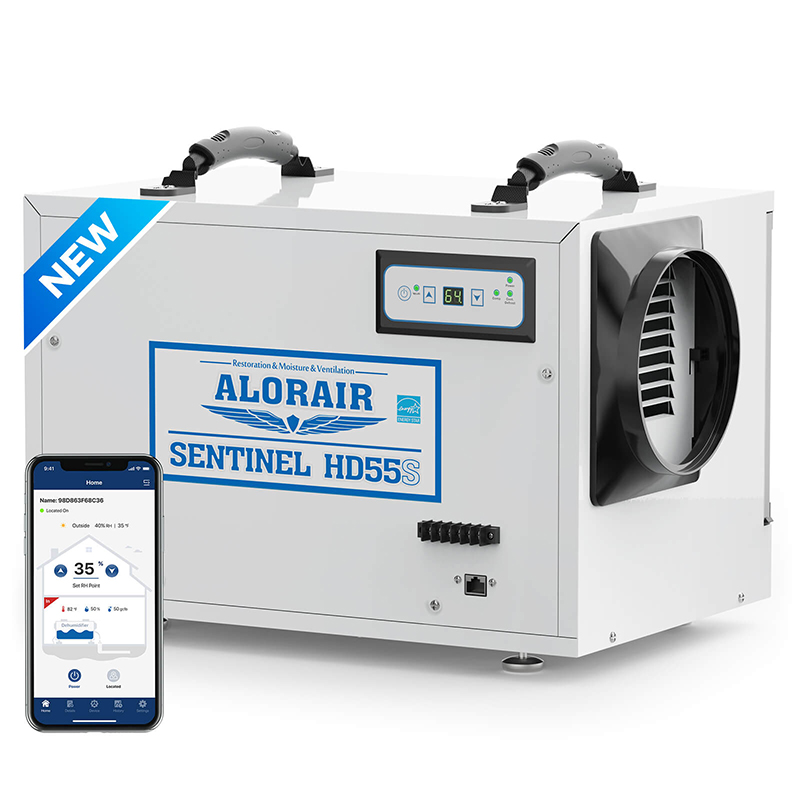
- Dehumidifier Location: Choose a level, stable surface within the home’s crawl space. Ideally, position the dehumidifier away from walls for optimal airflow. Some models of crawl space dehumidifiers, such as Sentinel HD55 dehumidifier, come with a 6-foot-long power cord, and it’s essential that you plug this directly into the power outlet as it’s the ideal distance for the crawl space dehumidifier to function effectively.
- Drainage: Consider your drainage options. You may be able to route the drainage hose straight to your crawl space’s sump pump. As an alternative, you can divert any accumulated crawl space moisture to a floor drain, sink, or even outside (weather-allowed) using the drain hose that comes with the crawl space dehumidifier. To guarantee appropriate water flow, the drainage line should have a small downhill slope towards the drain point.
Crawl Space Encapsulation
Prepare your crawl space
Clear the Crawl Space: Remove debris, rocks, or obstacles hindering the installation of moisture barrier covering. Then, carry out any necessary crawl space repair.
Identify and Address Existing Crawl Space Moisture Issues: Look for signs of mildew or mold growth, wood rot, or any of such. Address these issues with a fungicidal solution before proceeding. Standing water should also be addressed before laying the drop cloth in your crawl space.
Steps to encapsulate a crawl space
- Measure and Cut: Measure the crawl space floor area carefully. Cut the vapor barrier sheeting to the crawl space size, allowing for a 12-inch overlap on the walls and a 6-inch overlap at the seams. Utilize masking tape to create clean-cut lines if desired.
- Laying the Barrier: Begin by unfurling the vapor barrier sheeting in the crawl space. Ensure the plastic overlaps at seams extend at least 6 inches.
- Securing the Barrier:Use heavy-duty staples or nails and a staple gun or hammer to secure the barrier to the crawl space walls along the bottom edge every 12 inches or so.
- Sealing Seams:Apply a generous bead of high-quality caulk along all seams where the plastic overlaps. Smooth the caulk with a putty knife to create a waterproof seal.
- Penetrations: For any pipes, wires, or HVAC ducts penetrating the vapor barrier, carefully cut small openings around them. Seal these openings thoroughly with caulk to maintain the crawl space moisture barrier’s structural integrity.
- Wall Overlaps: Fold the vapor barrier material up the crawl space walls by 12 inches. Secure the wall overlaps with staples or nails, ensuring a tight fit against the foundation.
This crawl space encapsulation helps maintain the crawl space air system and aids in drying.
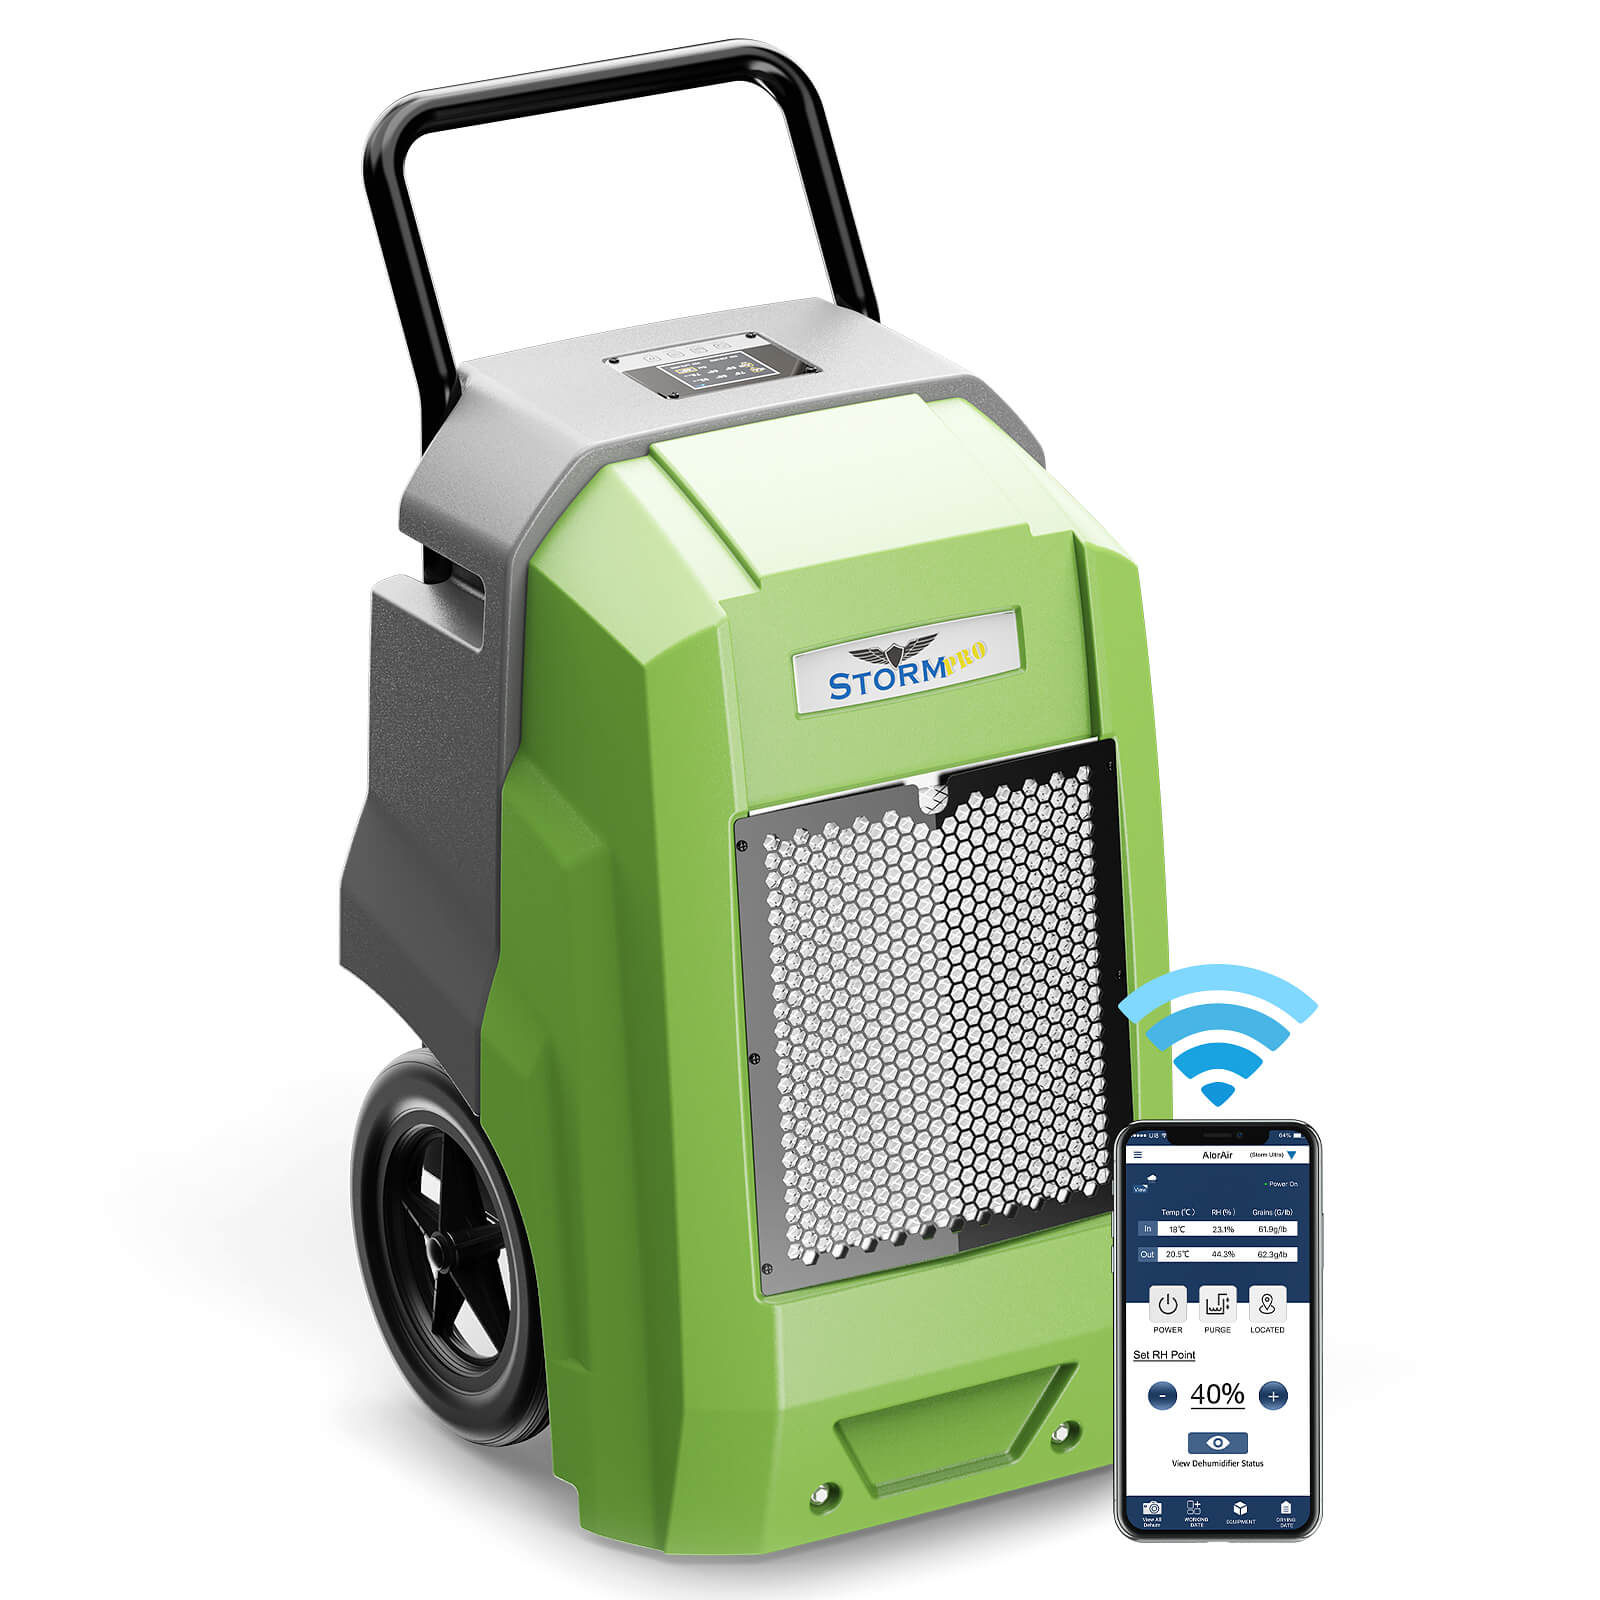
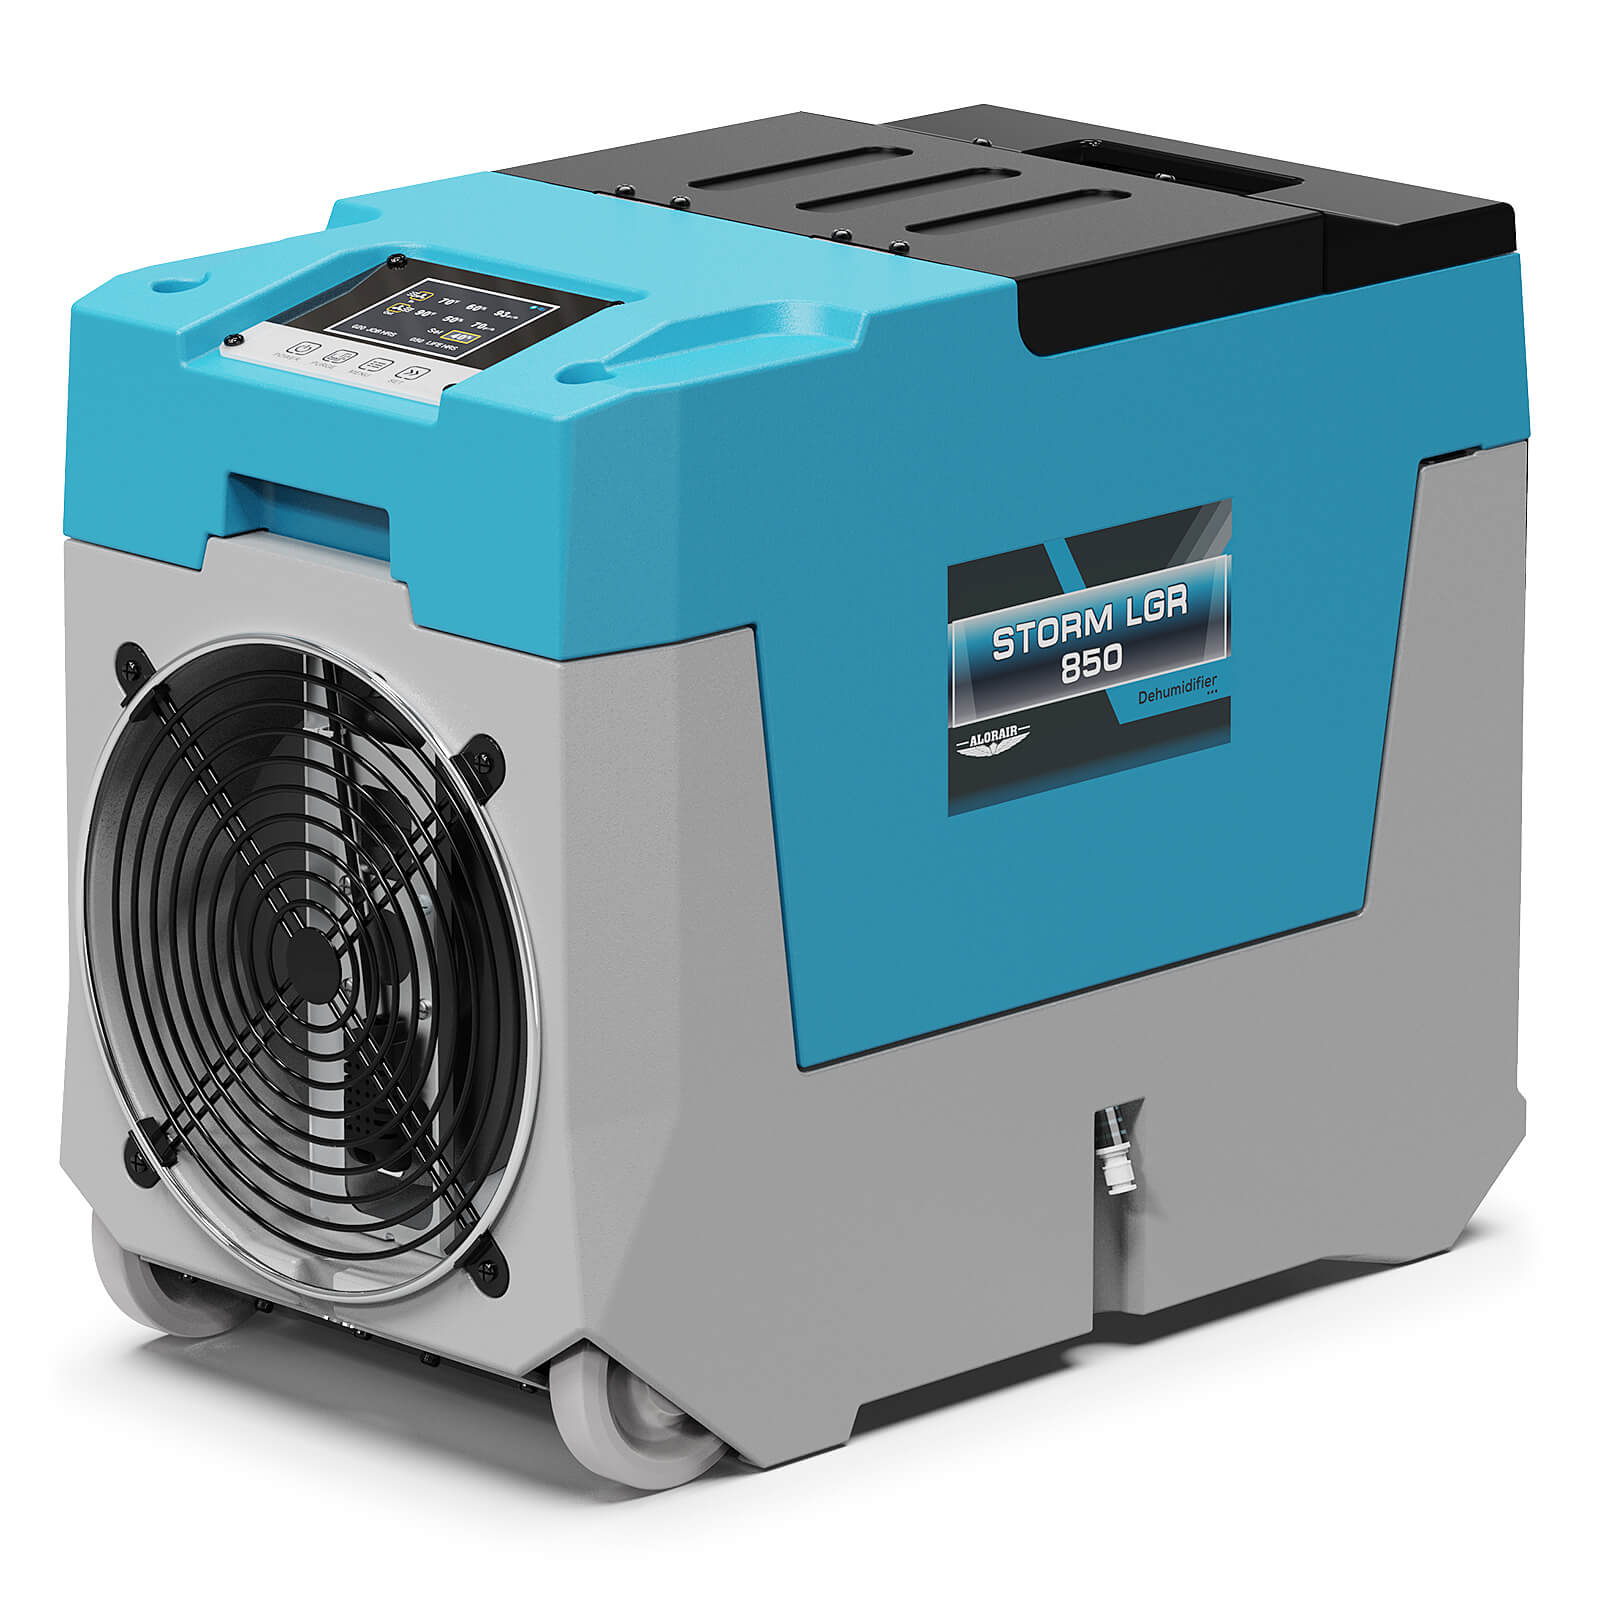
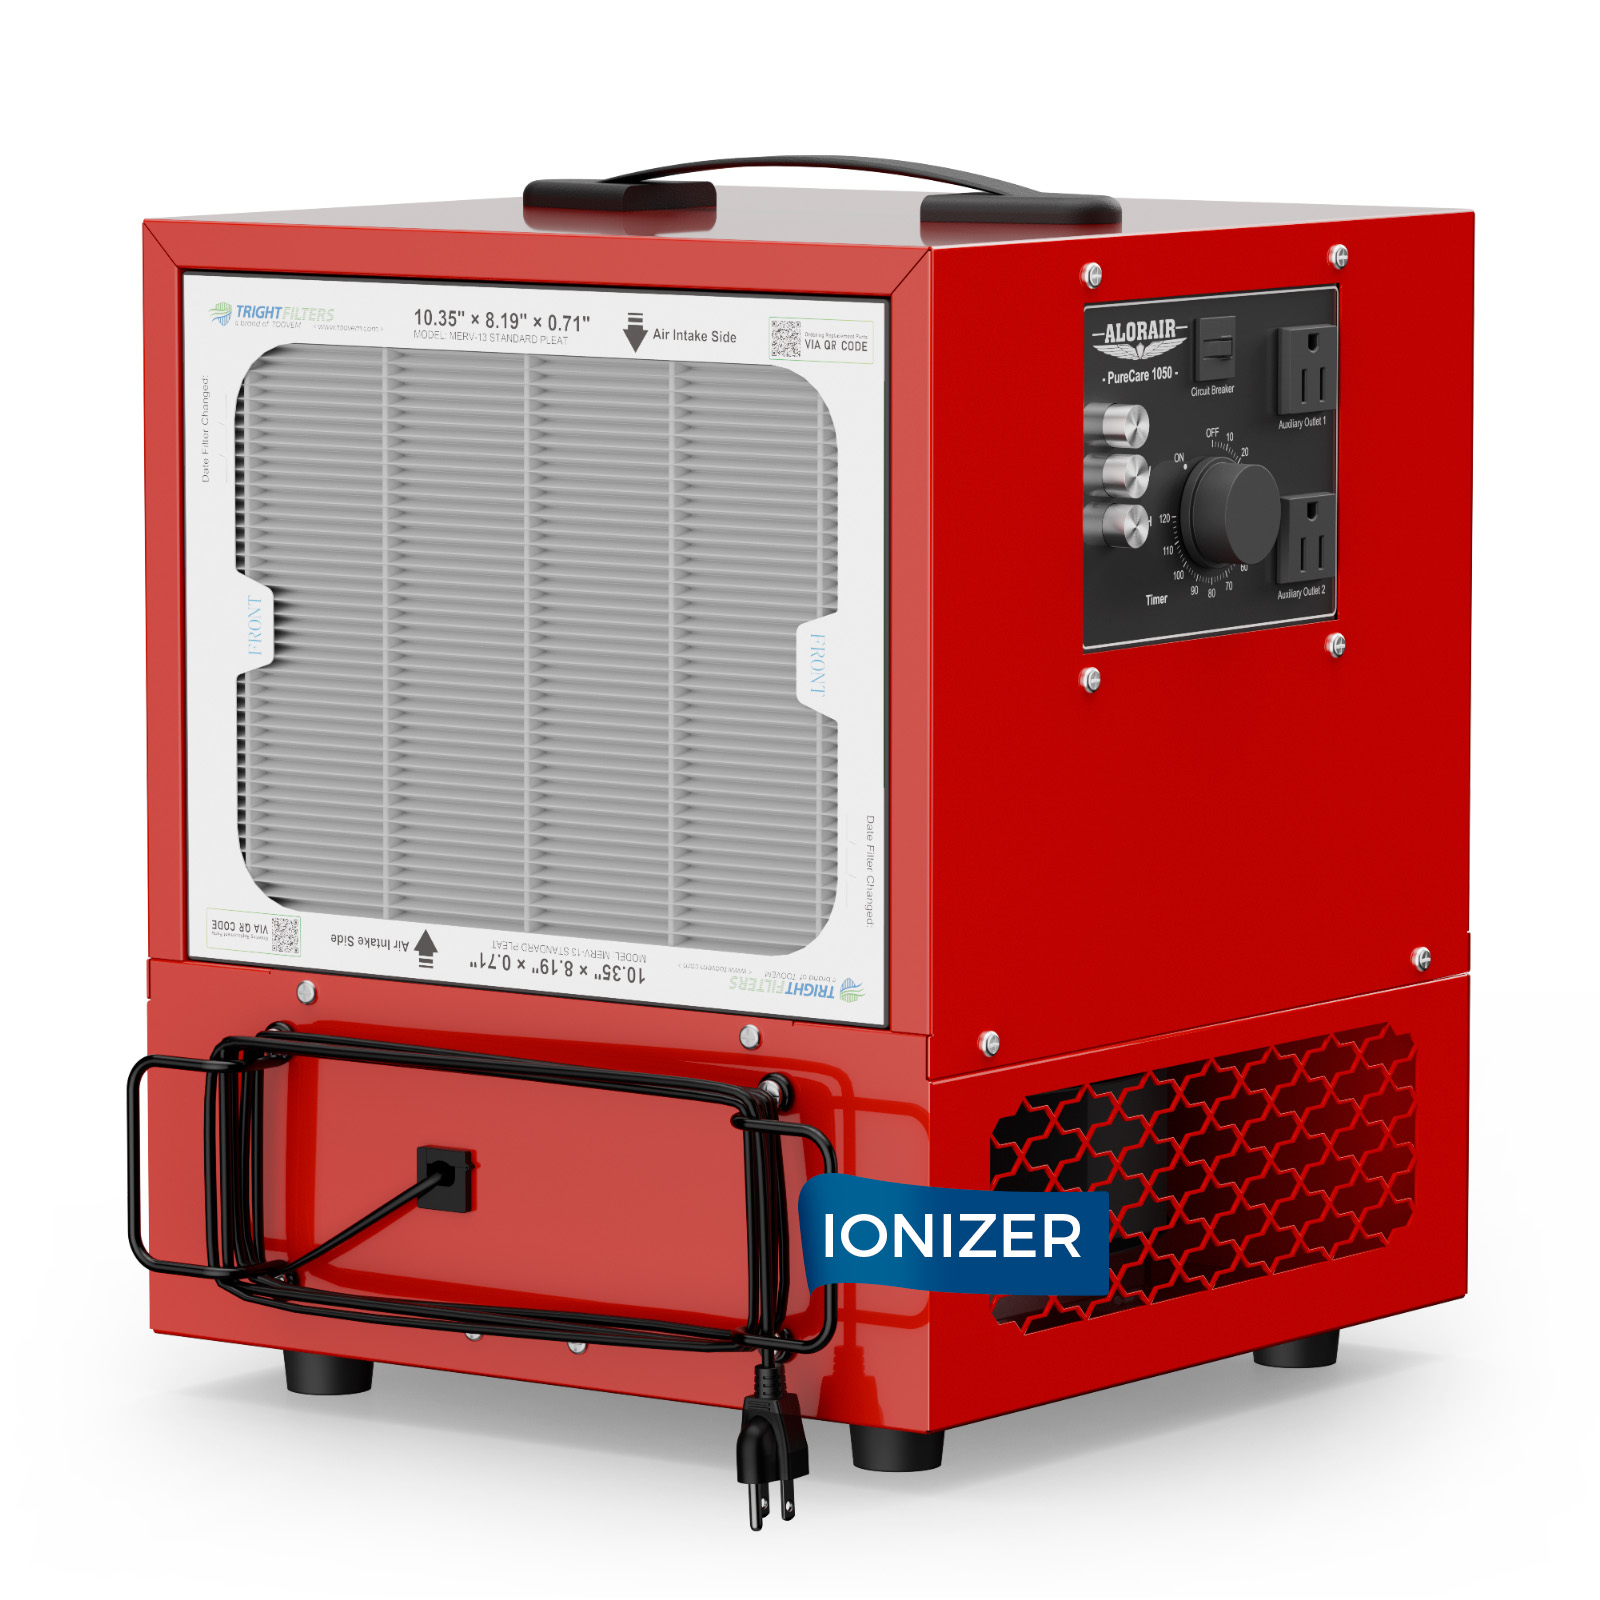
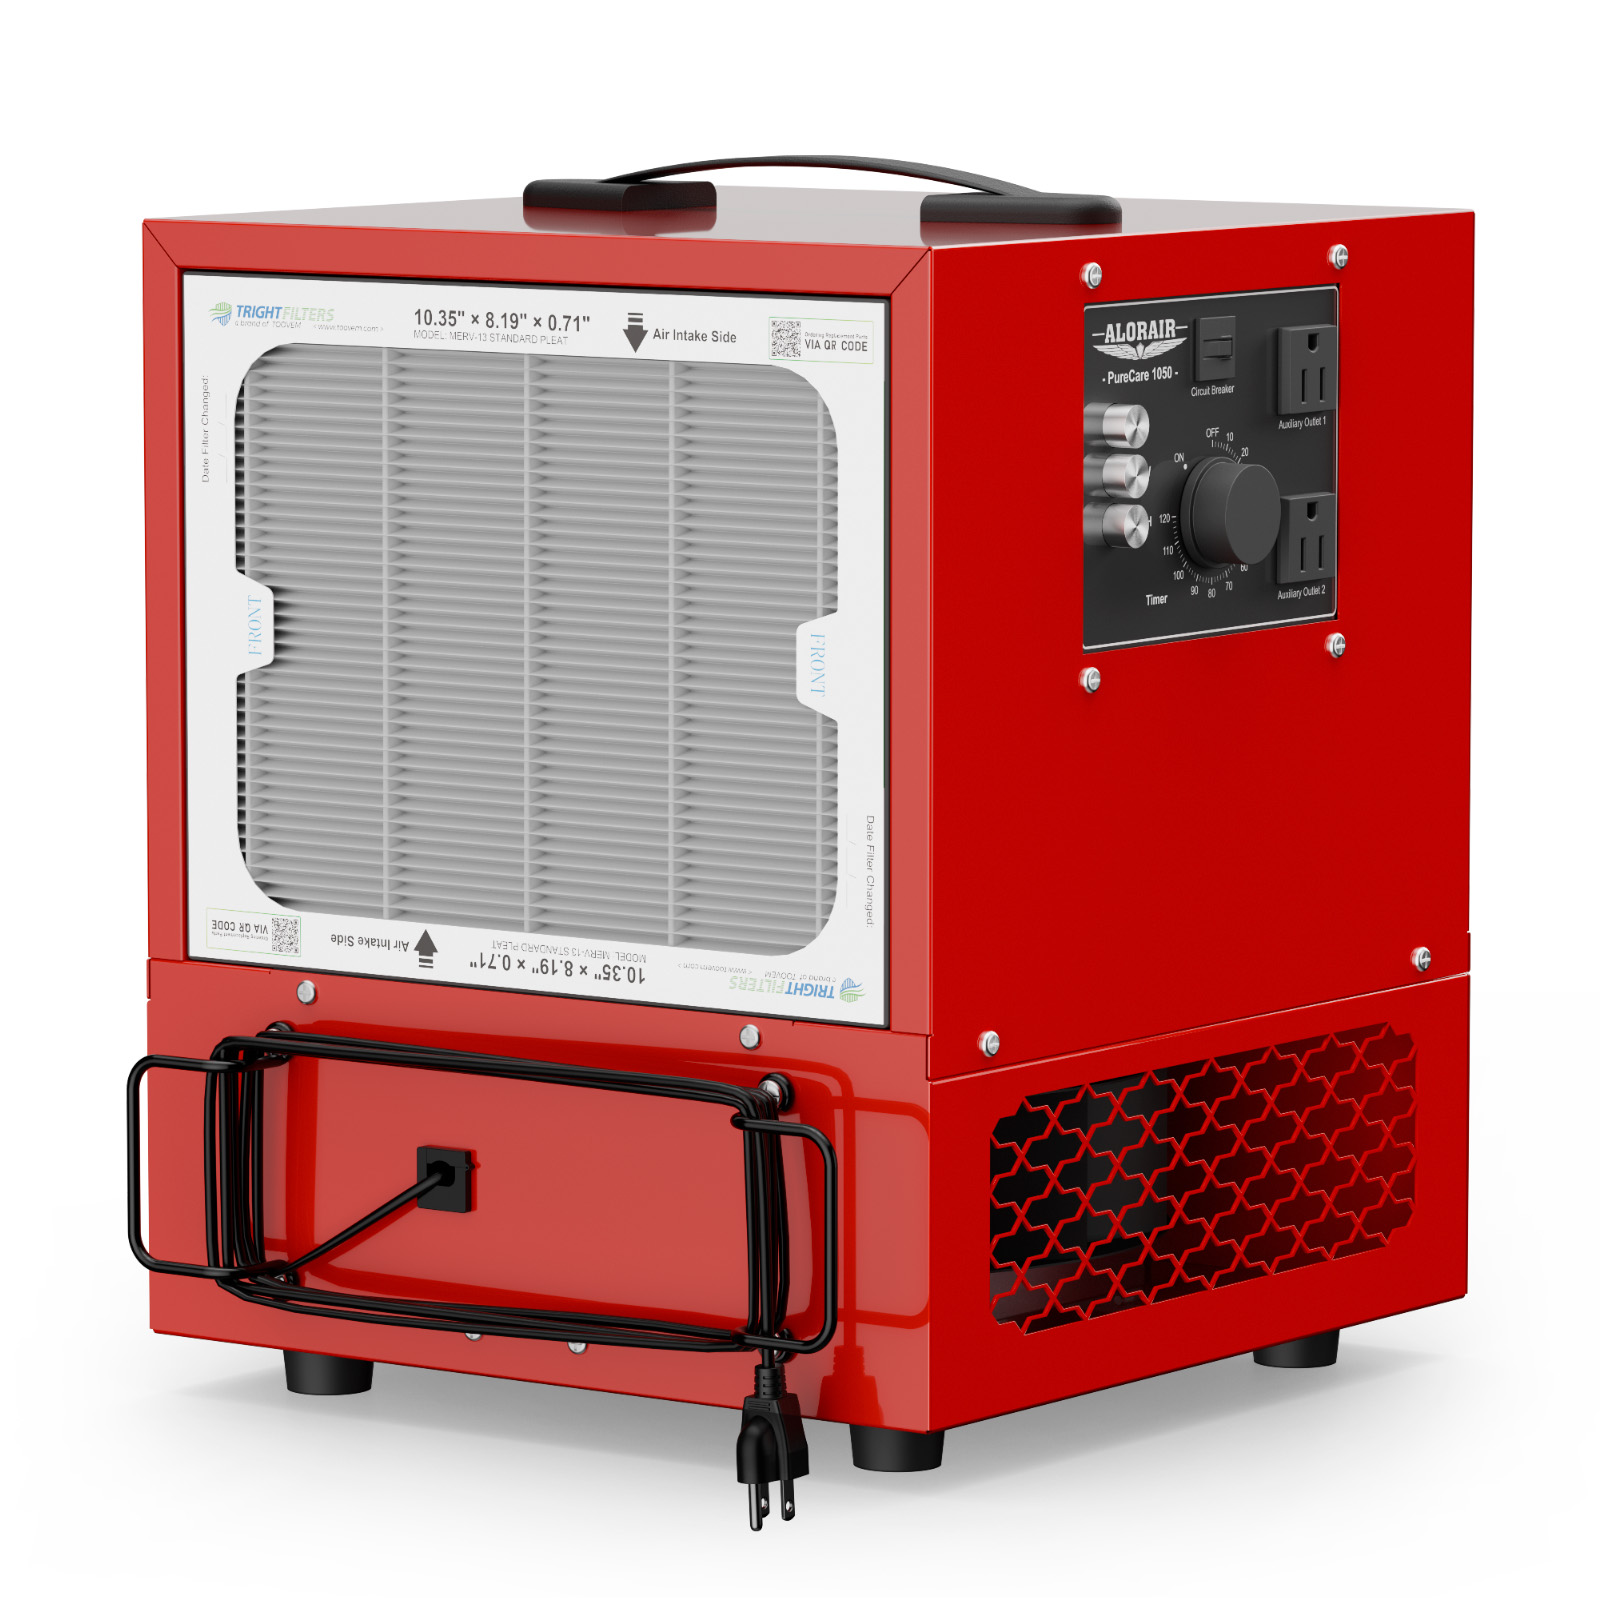
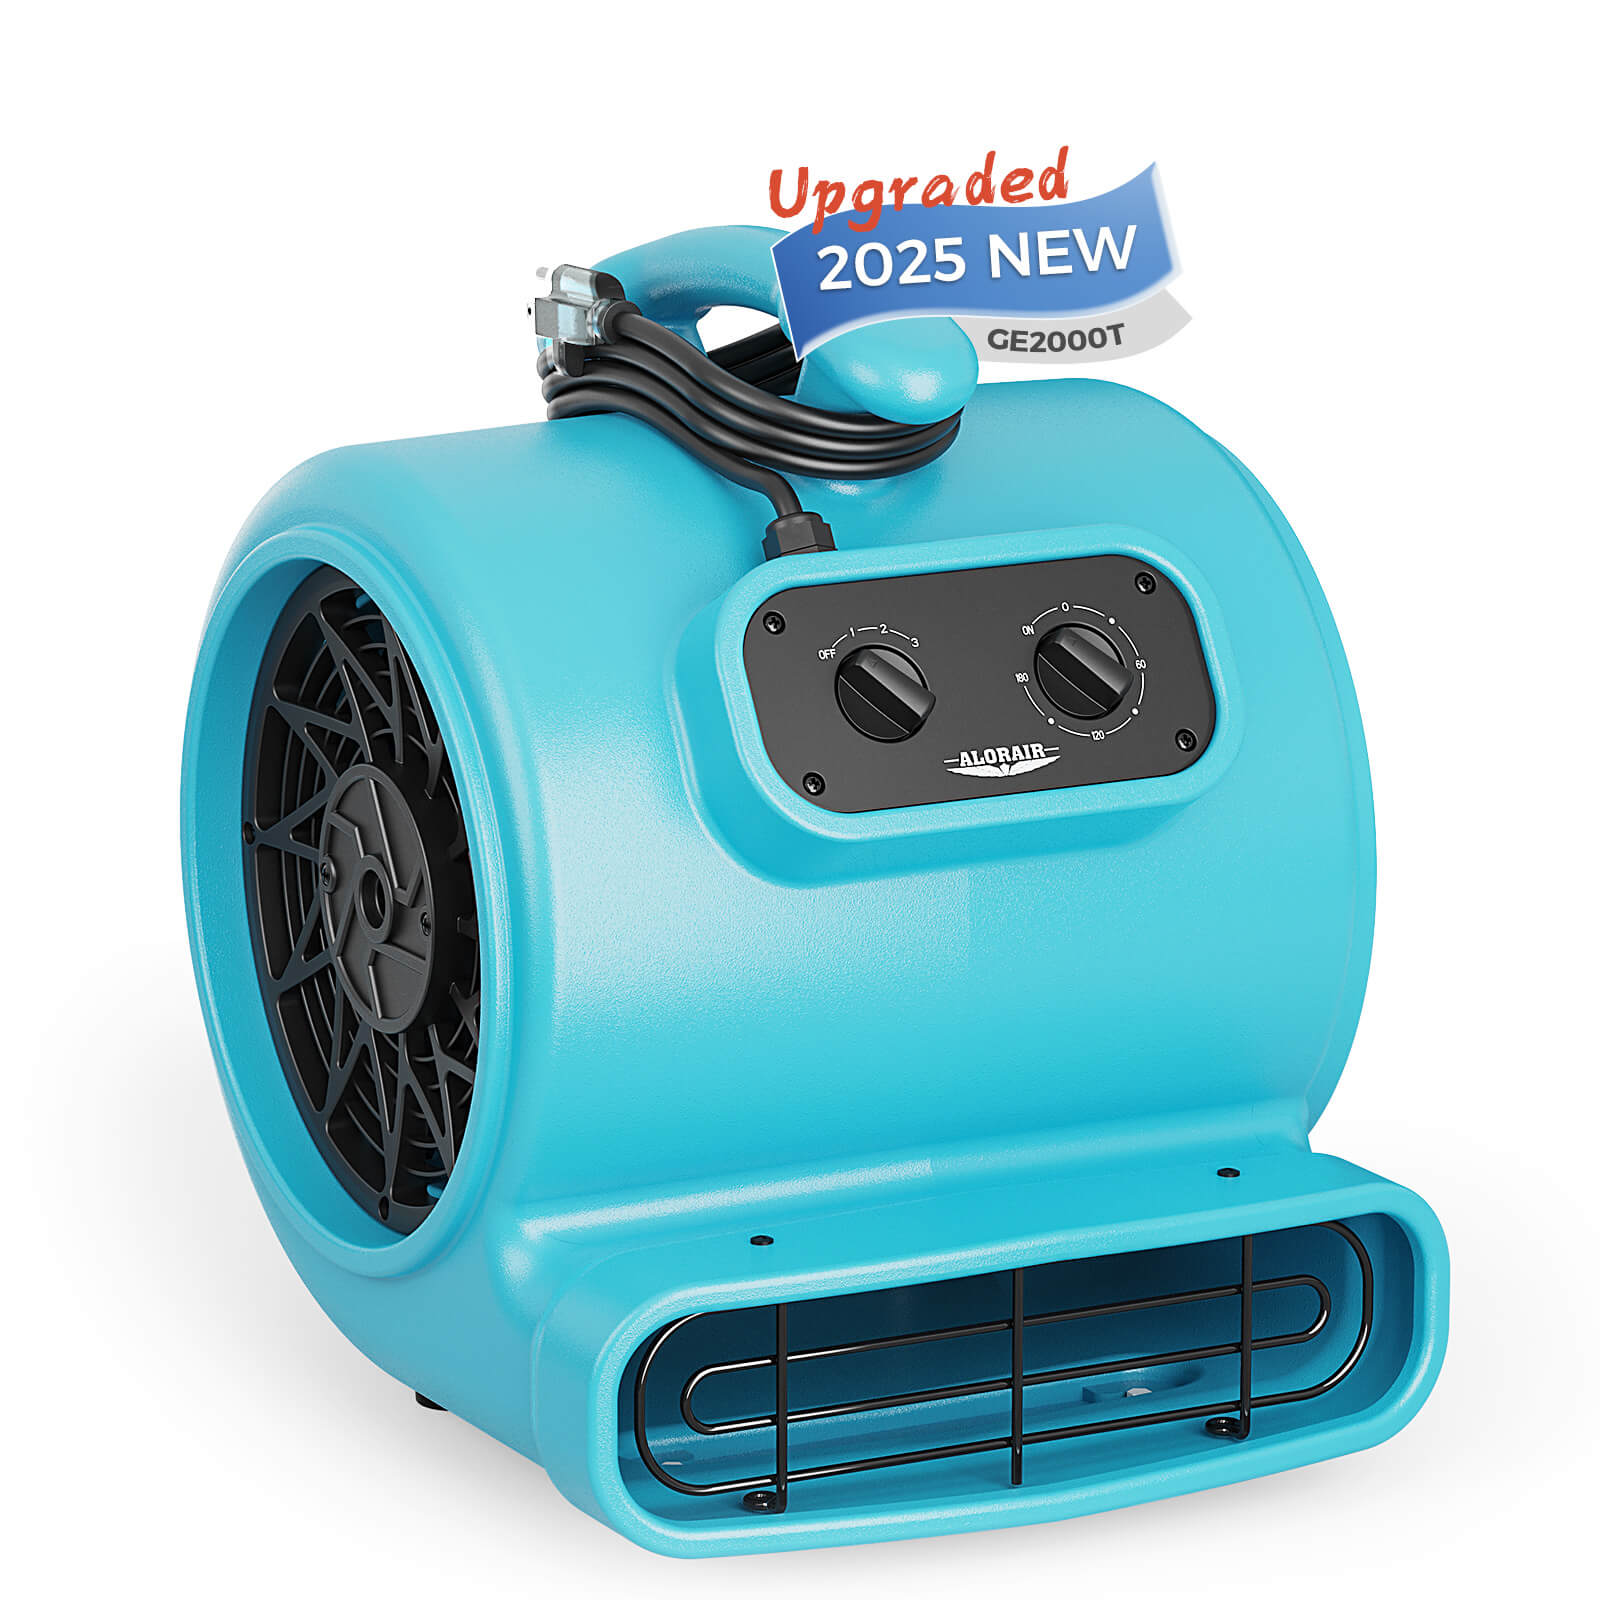
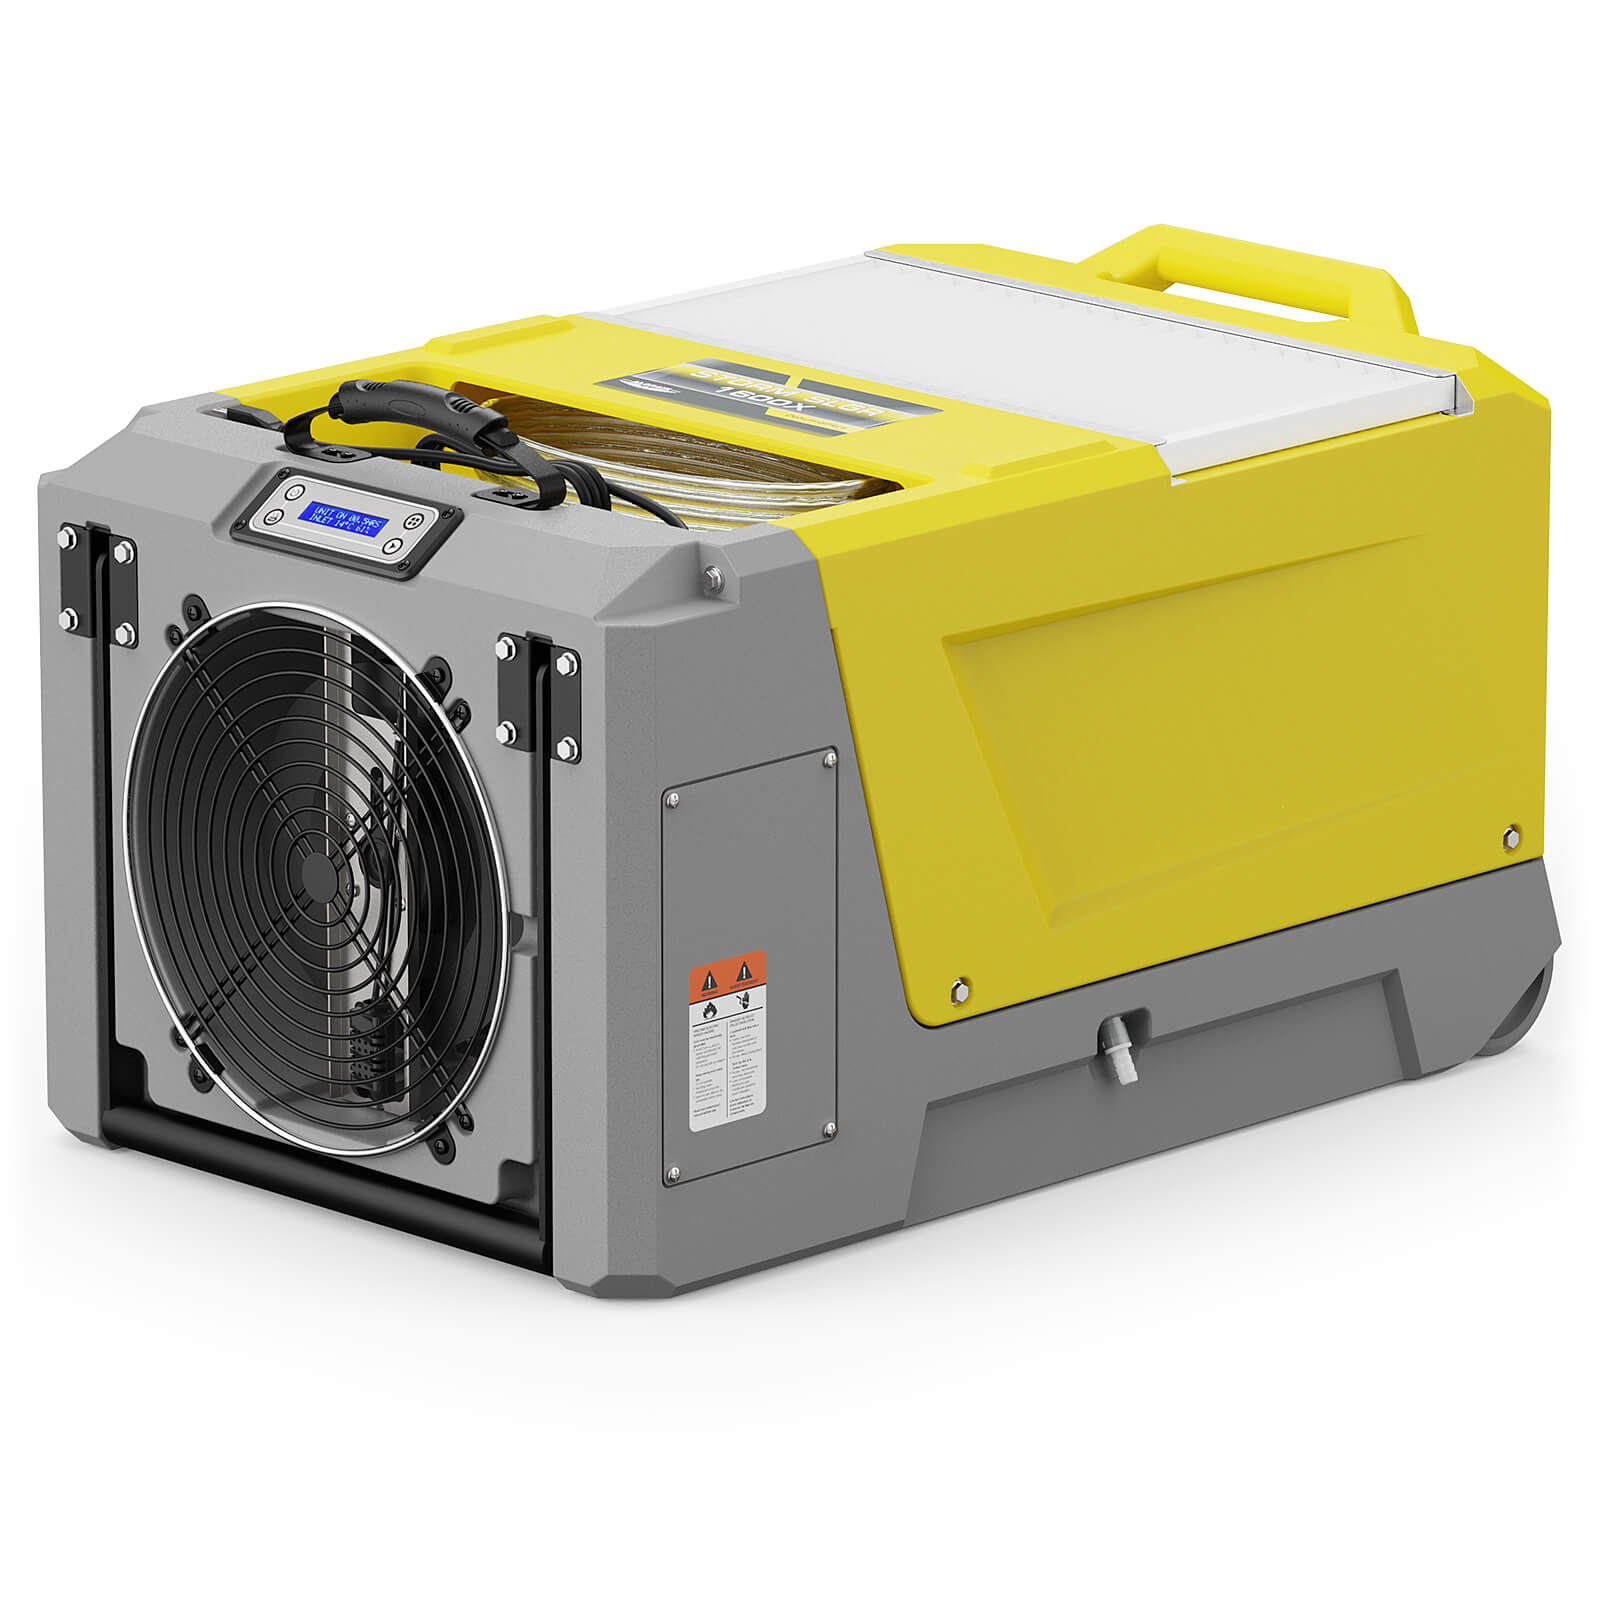
AlorAir Dehumidifier Installation in Your Crawl Space
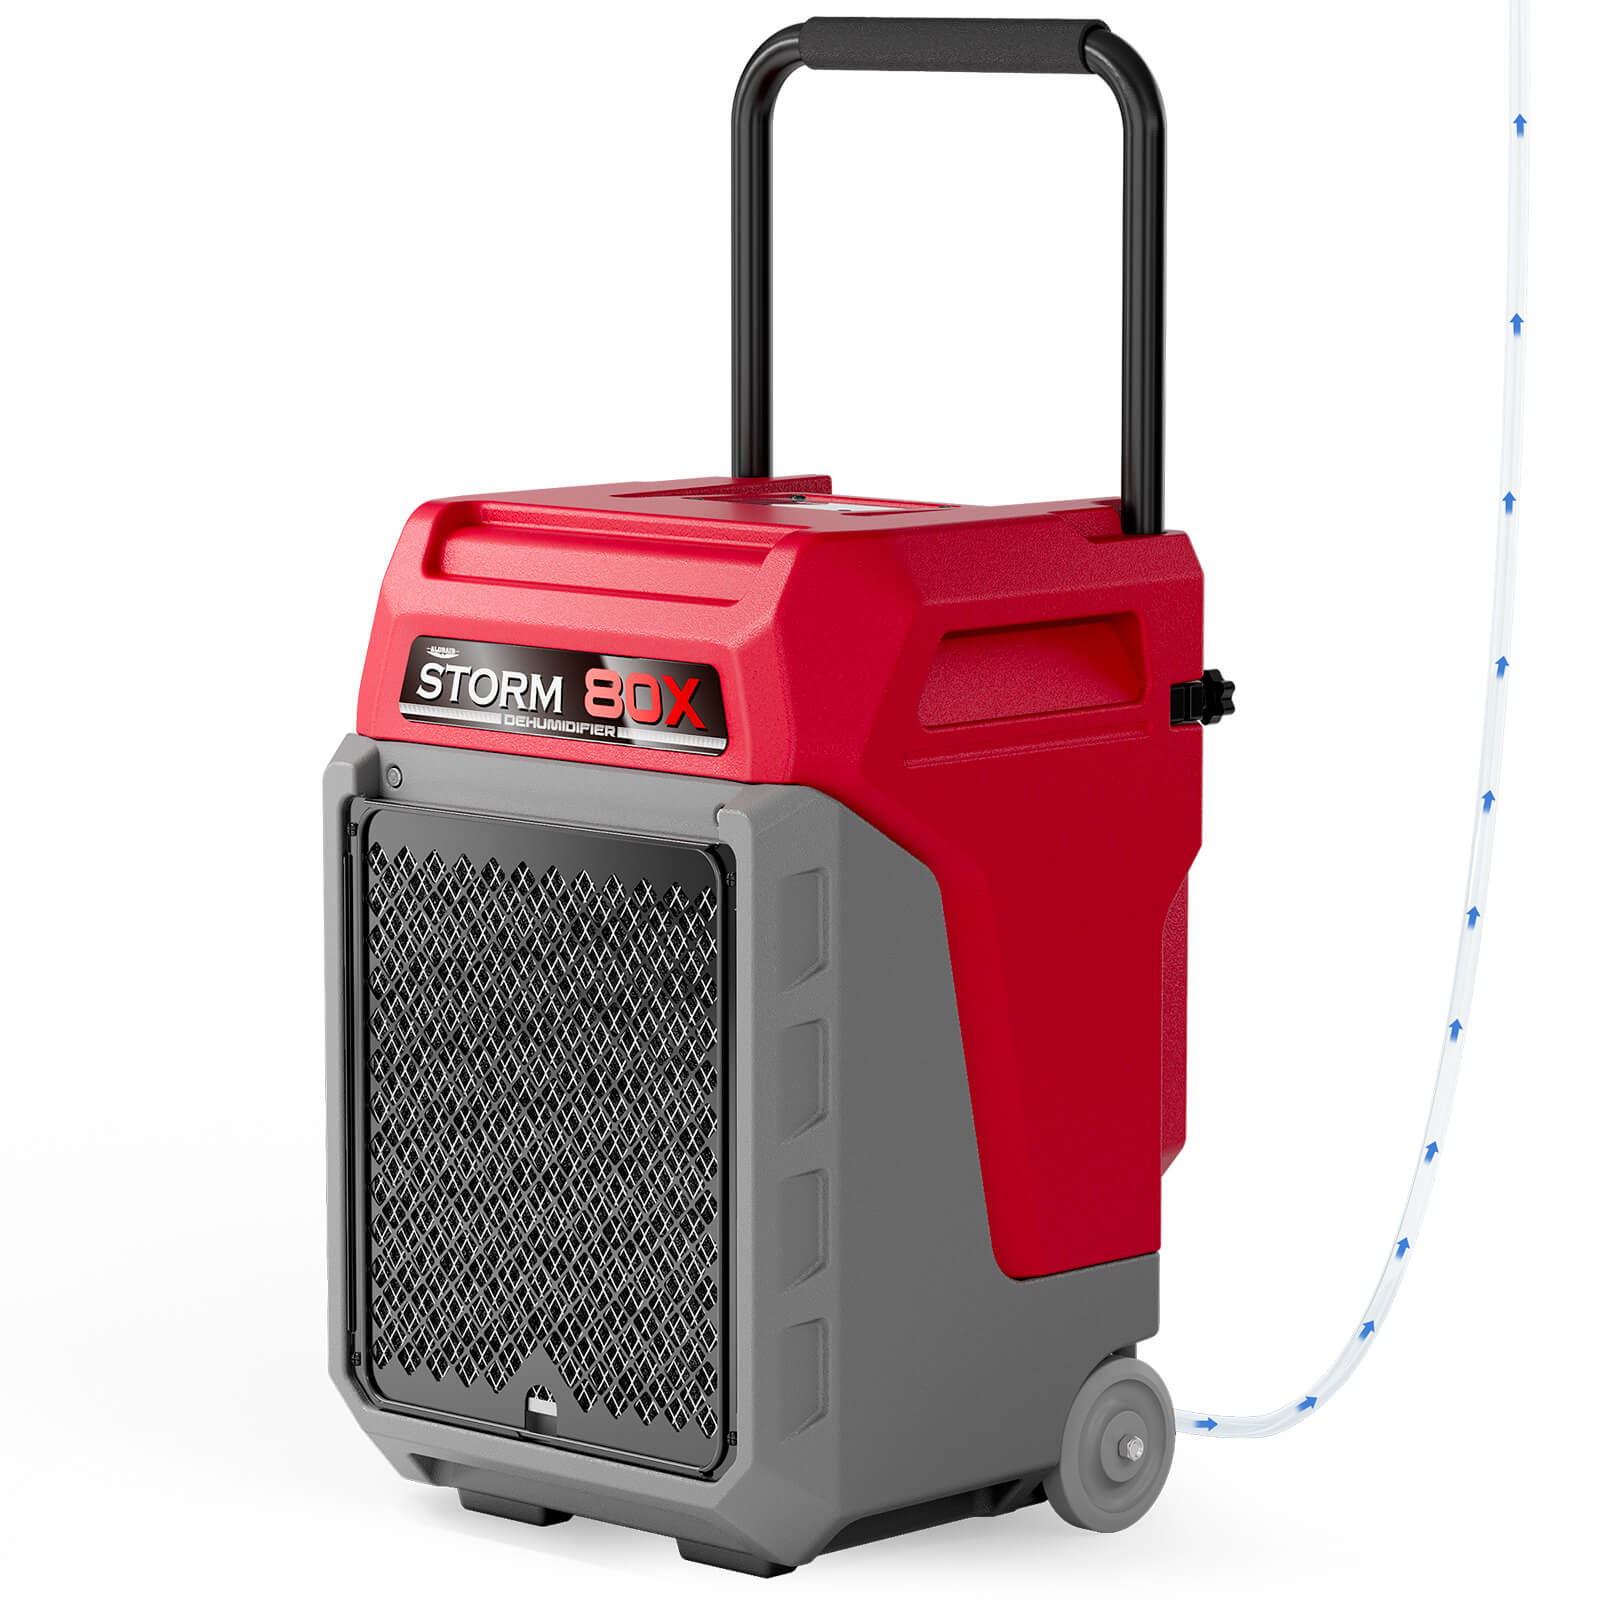
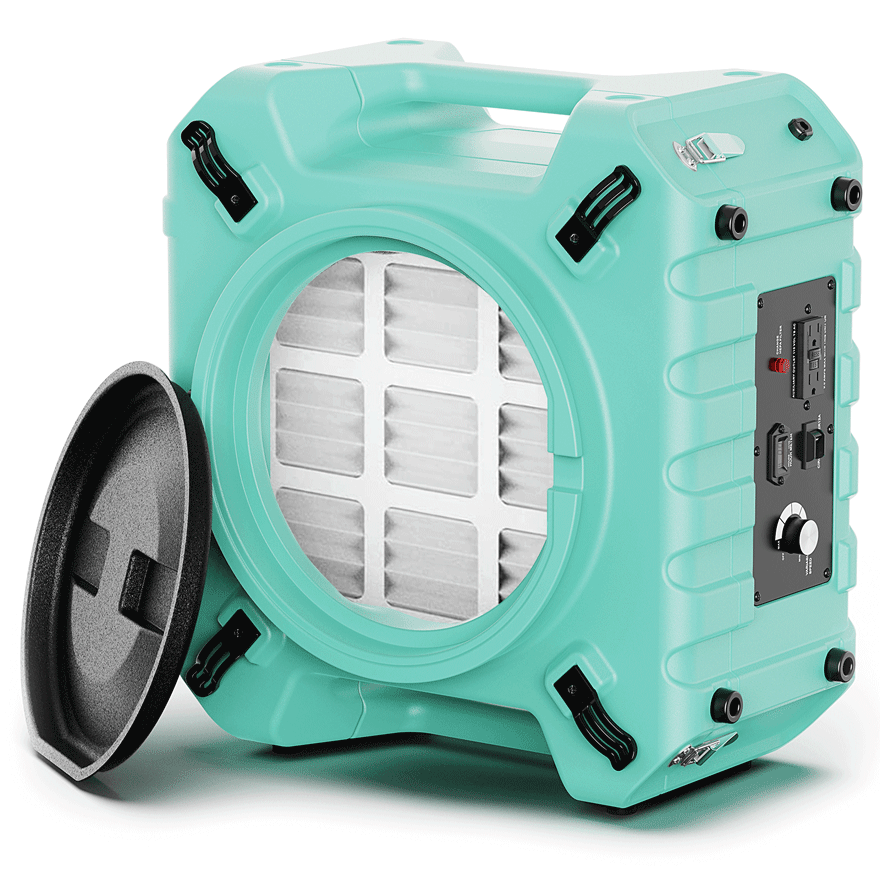
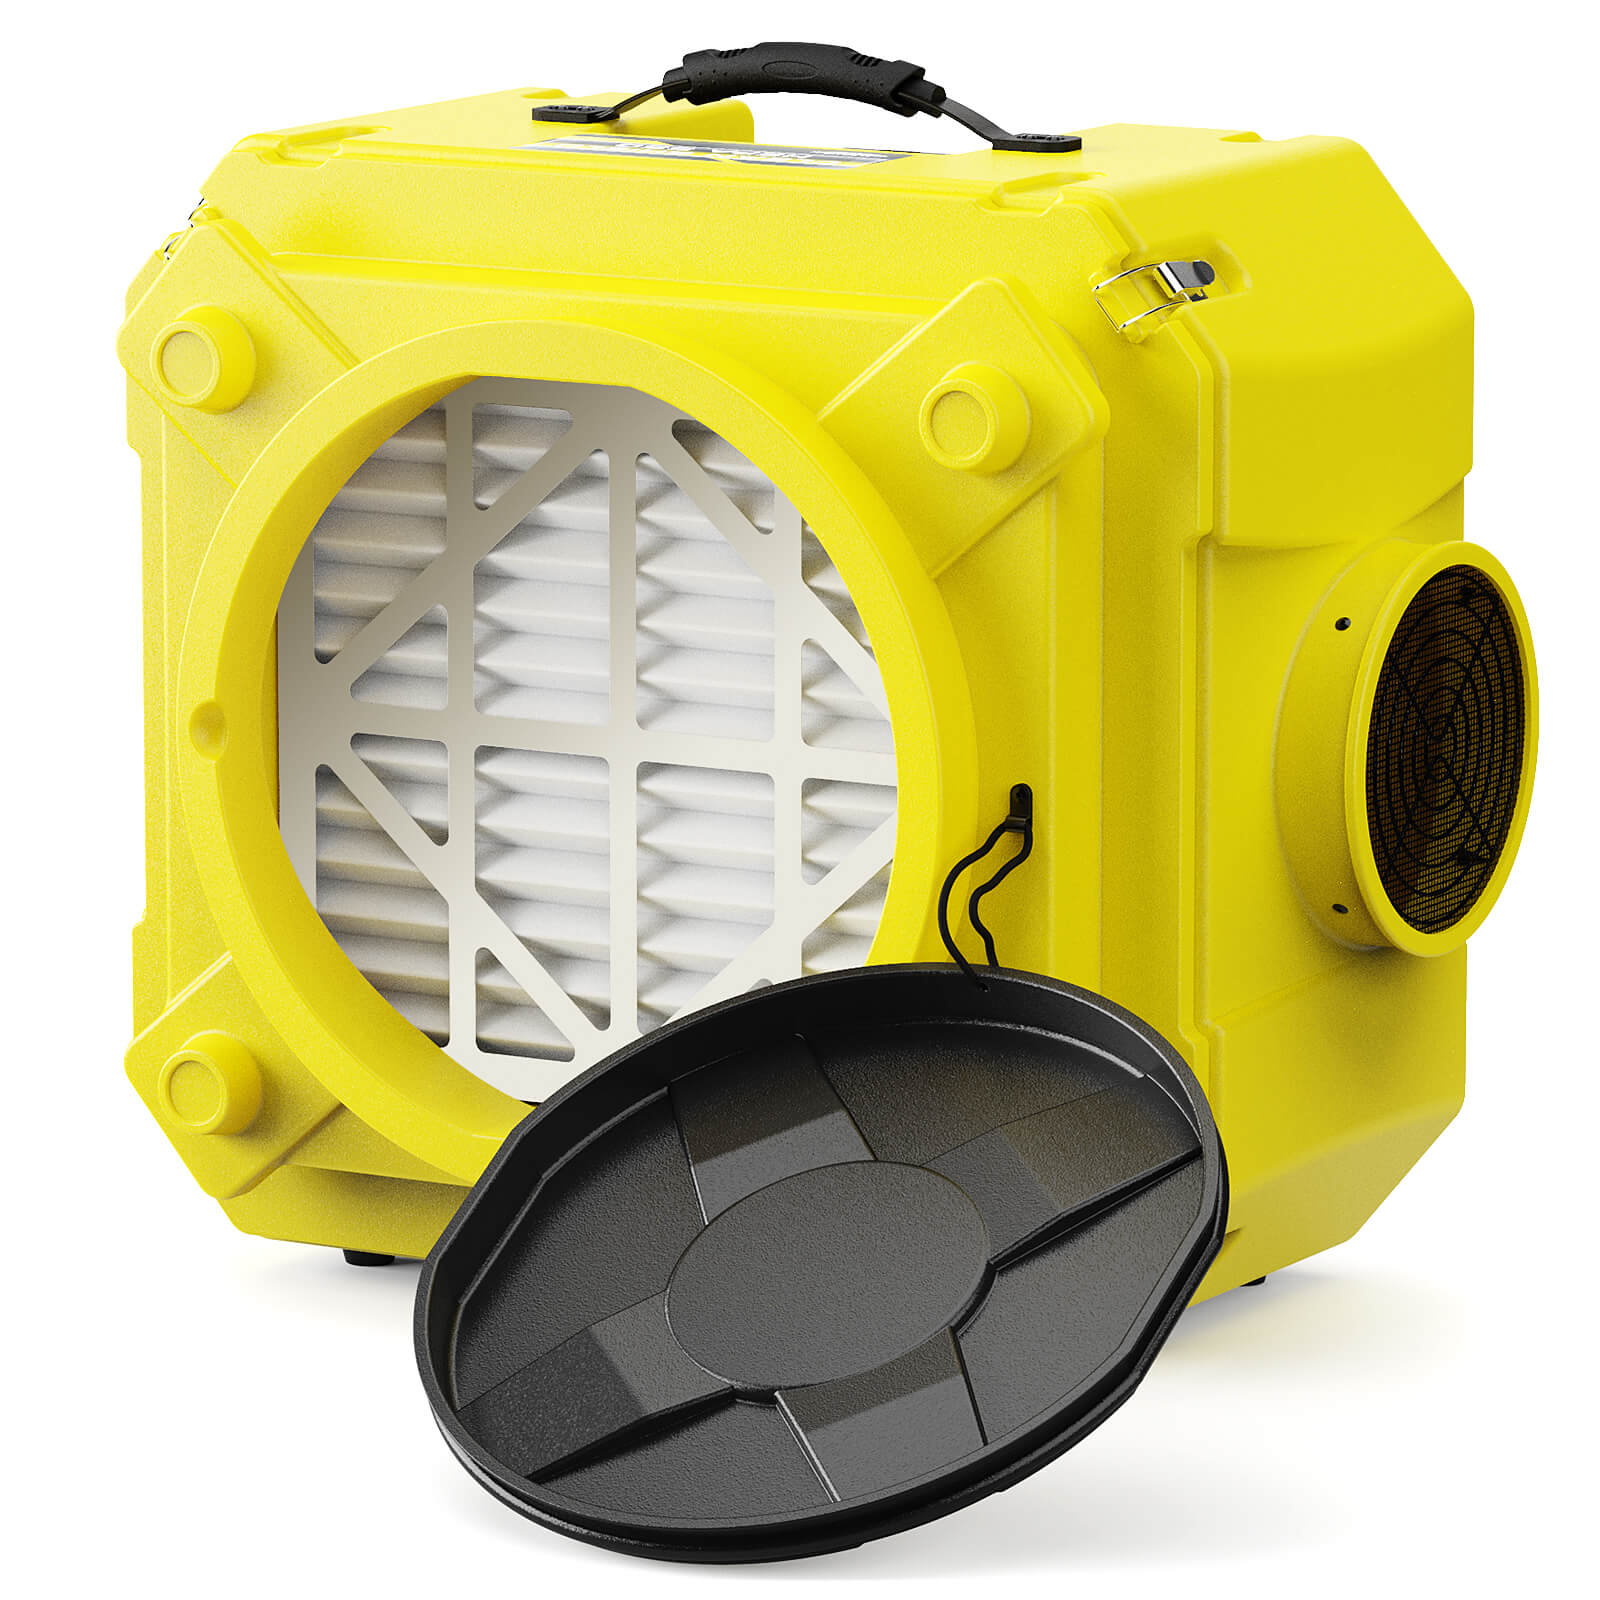
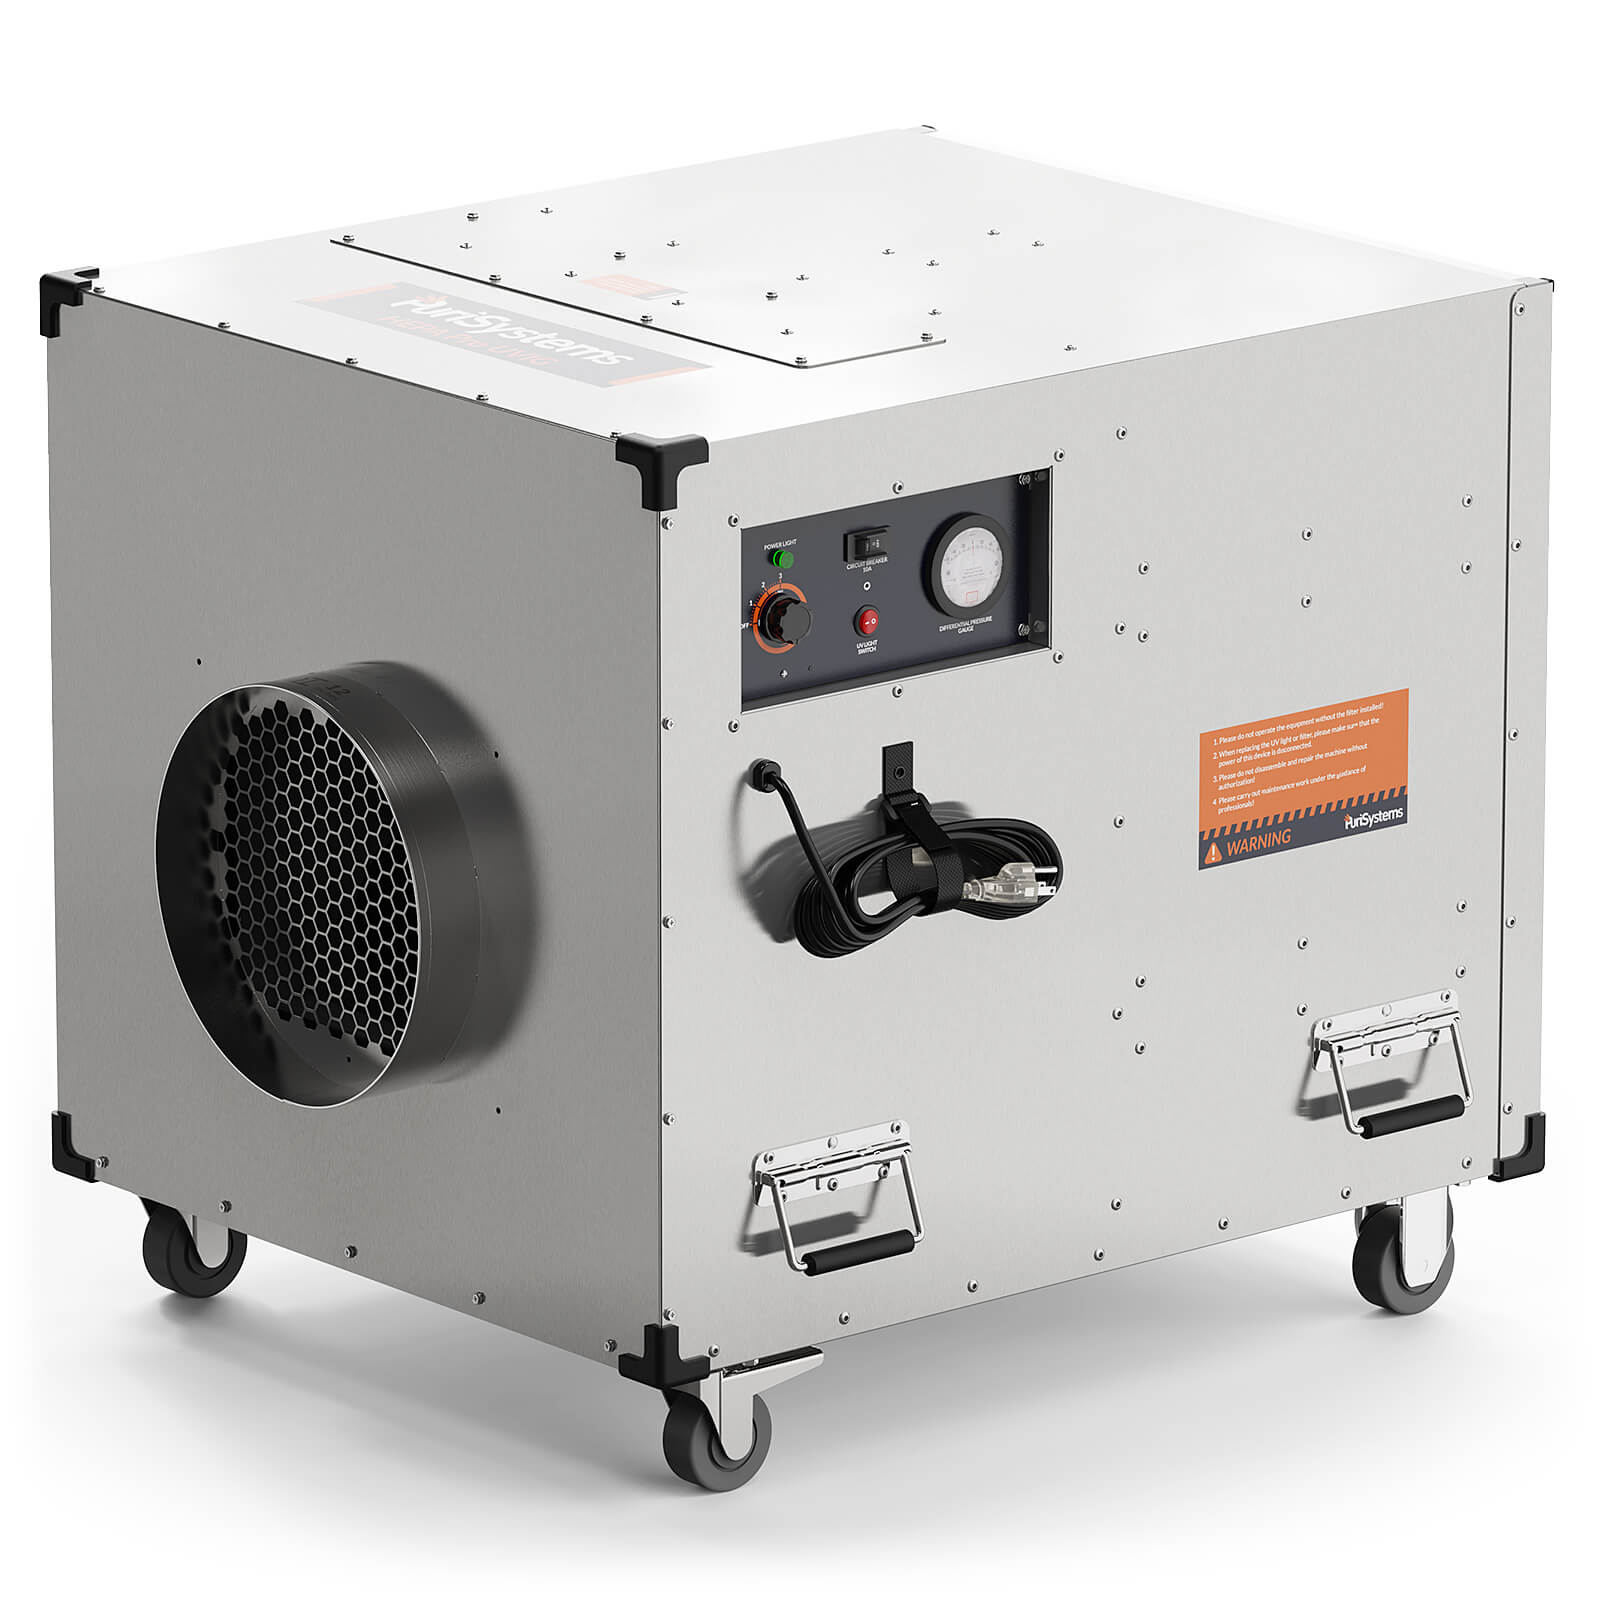
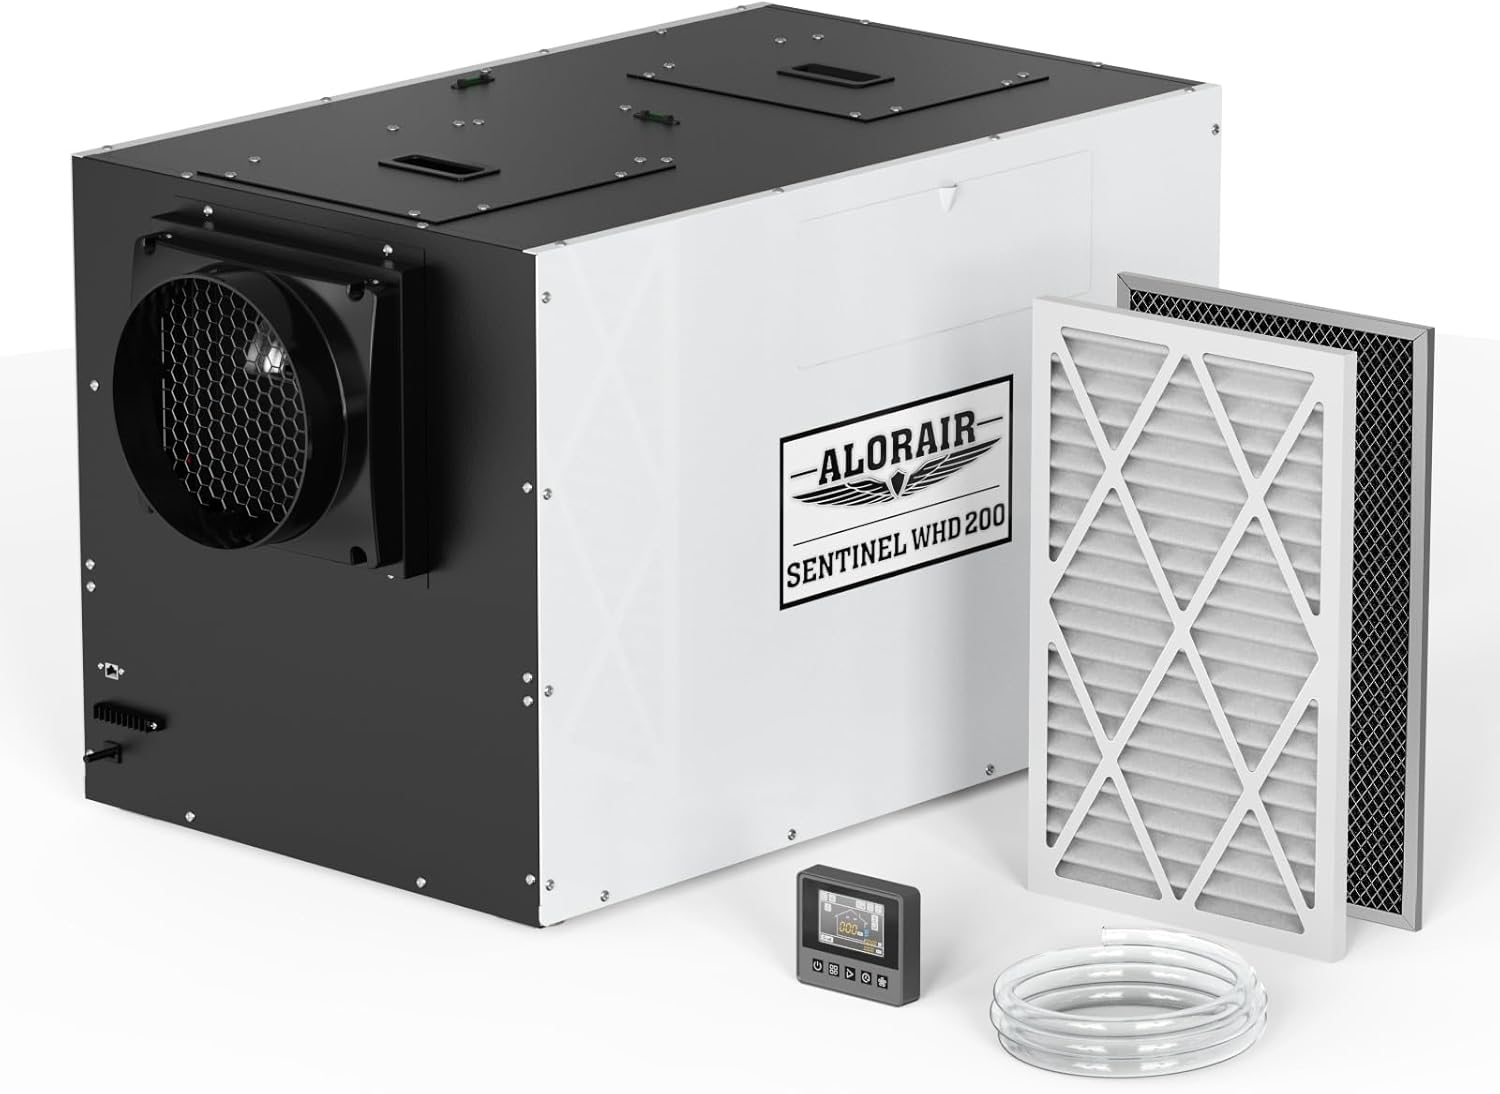
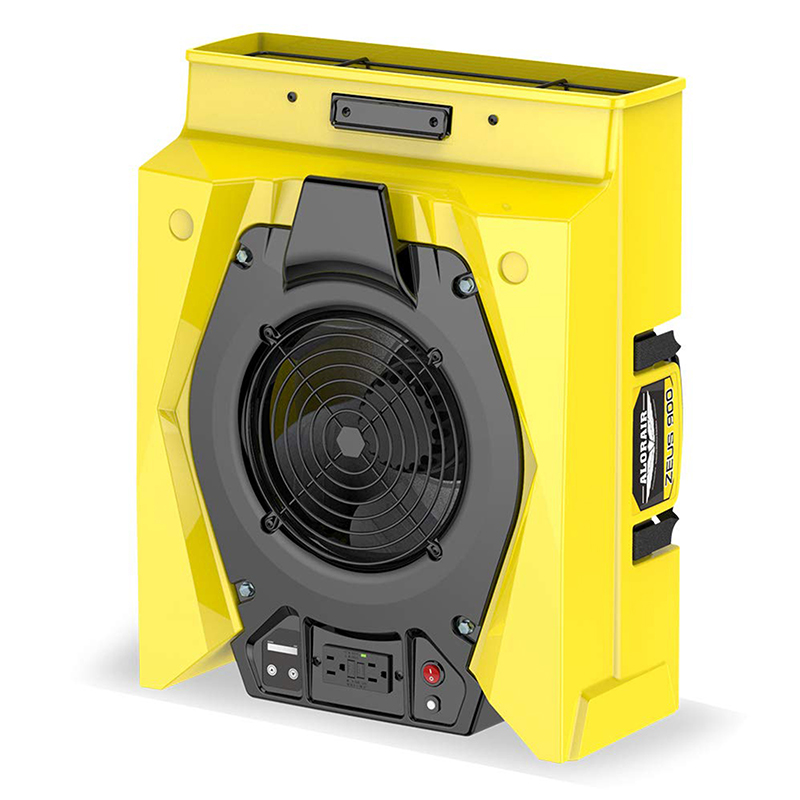
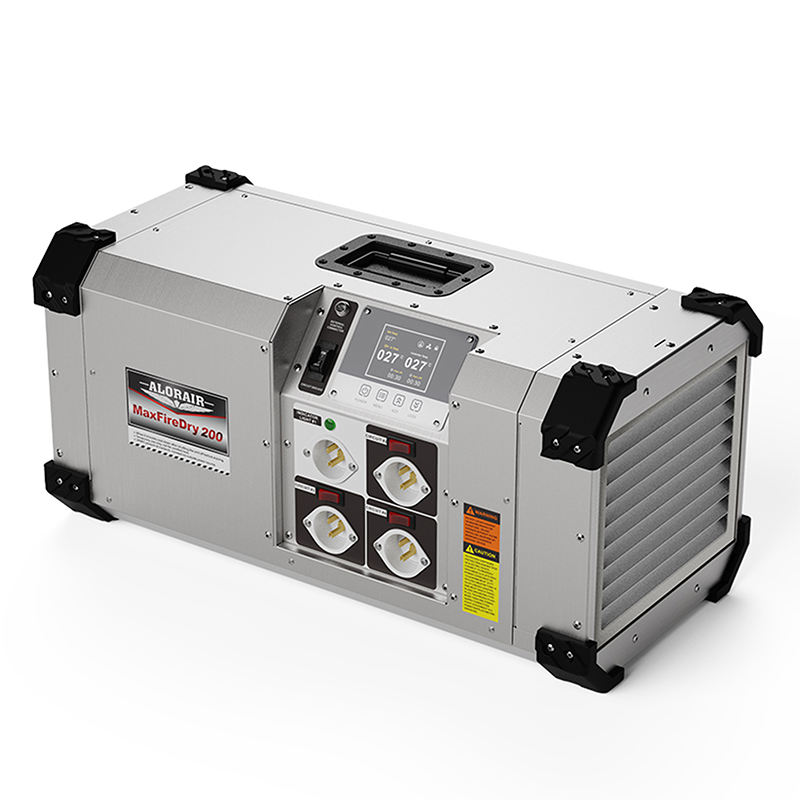
Carefully remove your Alorair crawl space dehumidifier from the packaging. You’ll find the user manual and packaging materials that prevent any dents on the dehumidifier.
Locate the air filter at the back of the crawl space dehumidifier and remove it. Clean the filter with a vacuum cleaner or by gently rinsing it with warm water. Ensure it’s completely dry then reinstall the clean filter before proceeding.
Find a suitable location to set up your crawl space dehumidifier. Ensure you place it at an appropriate distance from the wall to allow proper functioning. For ease, Alorair dehumidifiers come with adjustable legs to help maintain balance in your crawl space.
Identify the drain outlet on your crawl space dehumidifier. It’s typically a threaded fitting or a hose connection point. Most Alorair models come with an attached drain hose. Attach this provided hose or a compatible alternative using the following steps:
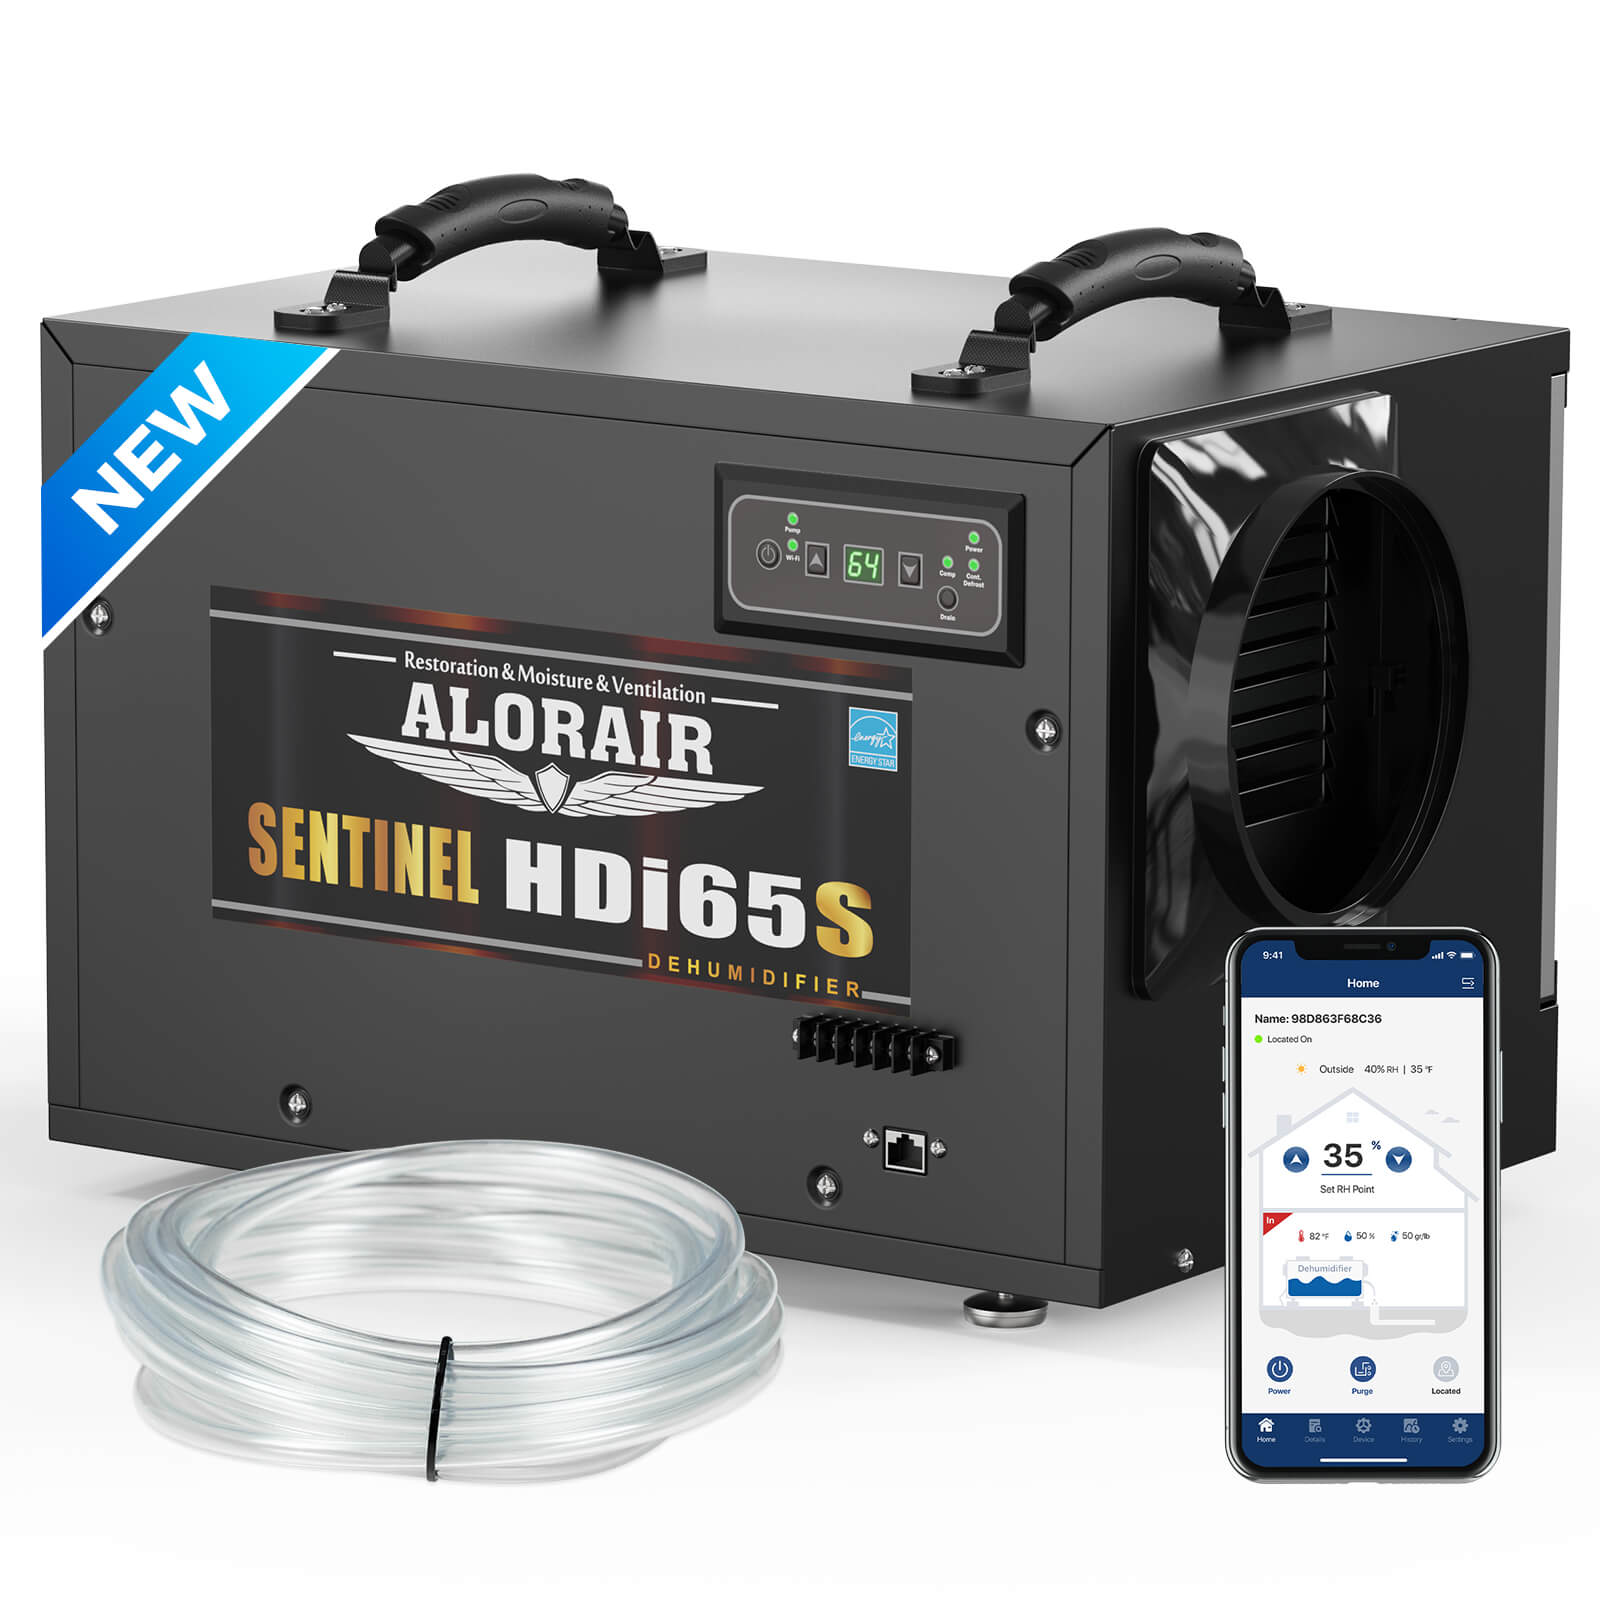
- Crawl space dehumidifiers such as the Alorair Sentinel HDi65S comes with compression fitting. Loosen the compression nut by hand.
- Slide the compression nut over the end of the hose you intend to connect.
- Insert the hose firmly into the crawl space dehumidifier’s drain outlet.
- Tighten the compression nut securely using the adjustable wrench.
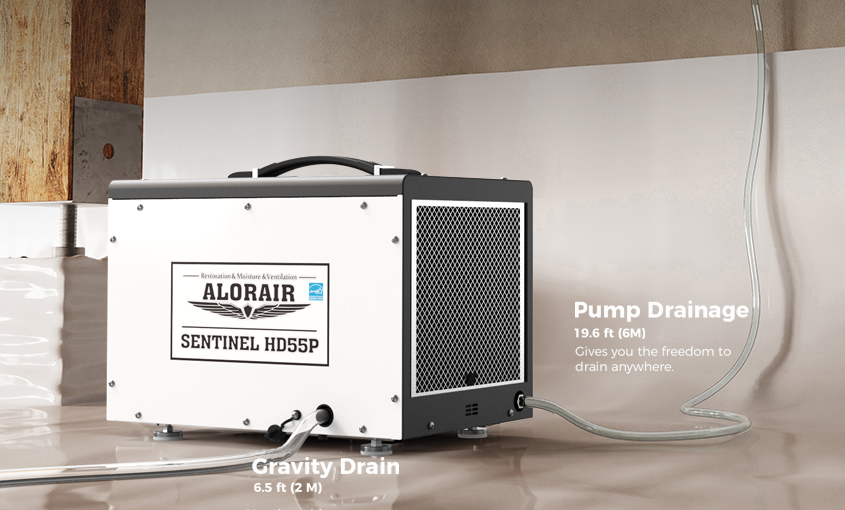
- Drainage System Configuration: There are two primary drainage options:
Gravity Drainage: If your drain point (floor drain, sump pump) is located lower than the crawl space dehumidifier, simply route the drain hose to the desired location, ensuring a downward slope for proper water flow.
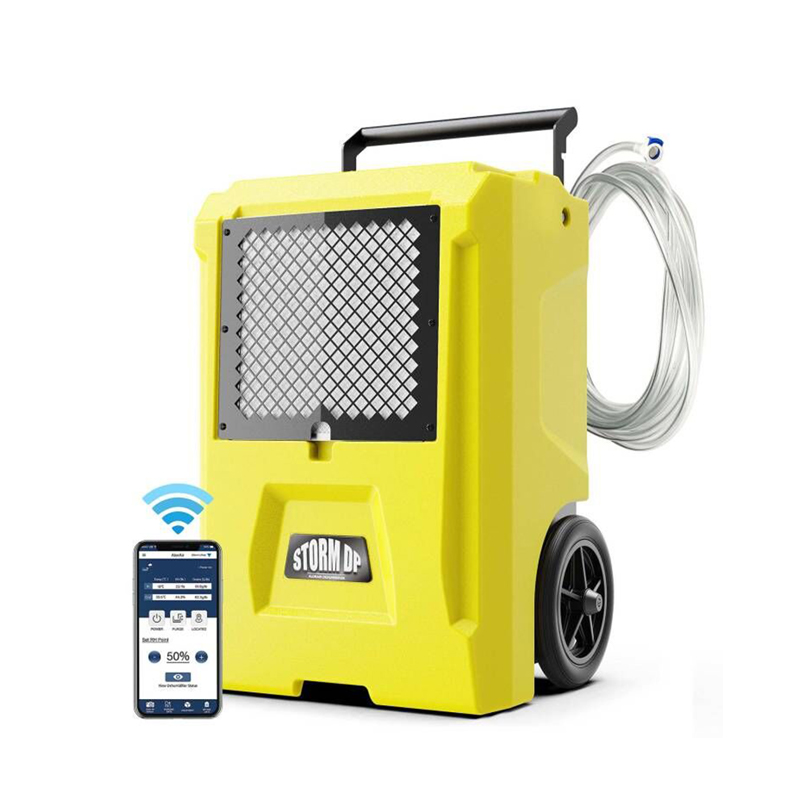
Pumped Drainage: If your drainage point is higher than the crawlspace dehumidifiers, choose a dehumidifier with a condensate pump, such as the Alorair Sentinel HD55P. It is equipped with dual drainage and has a maximum water drain height of 19.6 ft.
Drainage Hole Creation (Check User Manual for Compatibility): If no alternative drainage solution is practical, drilling a drainage hole in the wall should be considered before the crawl space dehumidifier installation.
Important Note: Before drilling any holes, ensure there are no electrical wires, plumbing lines, or other utilities hidden within the wall.
- • Drilling: Drill a hole of the appropriate size at the desired location, ensuring the drainage line will have a downward slope towards the exterior.
- • Sealing: Carefully insert a grommet (provided with some Alorair models) into the drilled hole to prevent air leaks. Seal the exterior of the hole with high-quality caulk to prevent water intrusion.
- • Before making any electrical connections, unplug the dehumidifier. Make sure you always have a grounded electrical outlet available for use. Avoid using extension cords and adapters as they might be dangerous. To prevent overloading, the outlet must be on a different circuit. After checking that the connection point is safe, connect the crawl space dehumidifier’s power line directly to the grounded outlet.
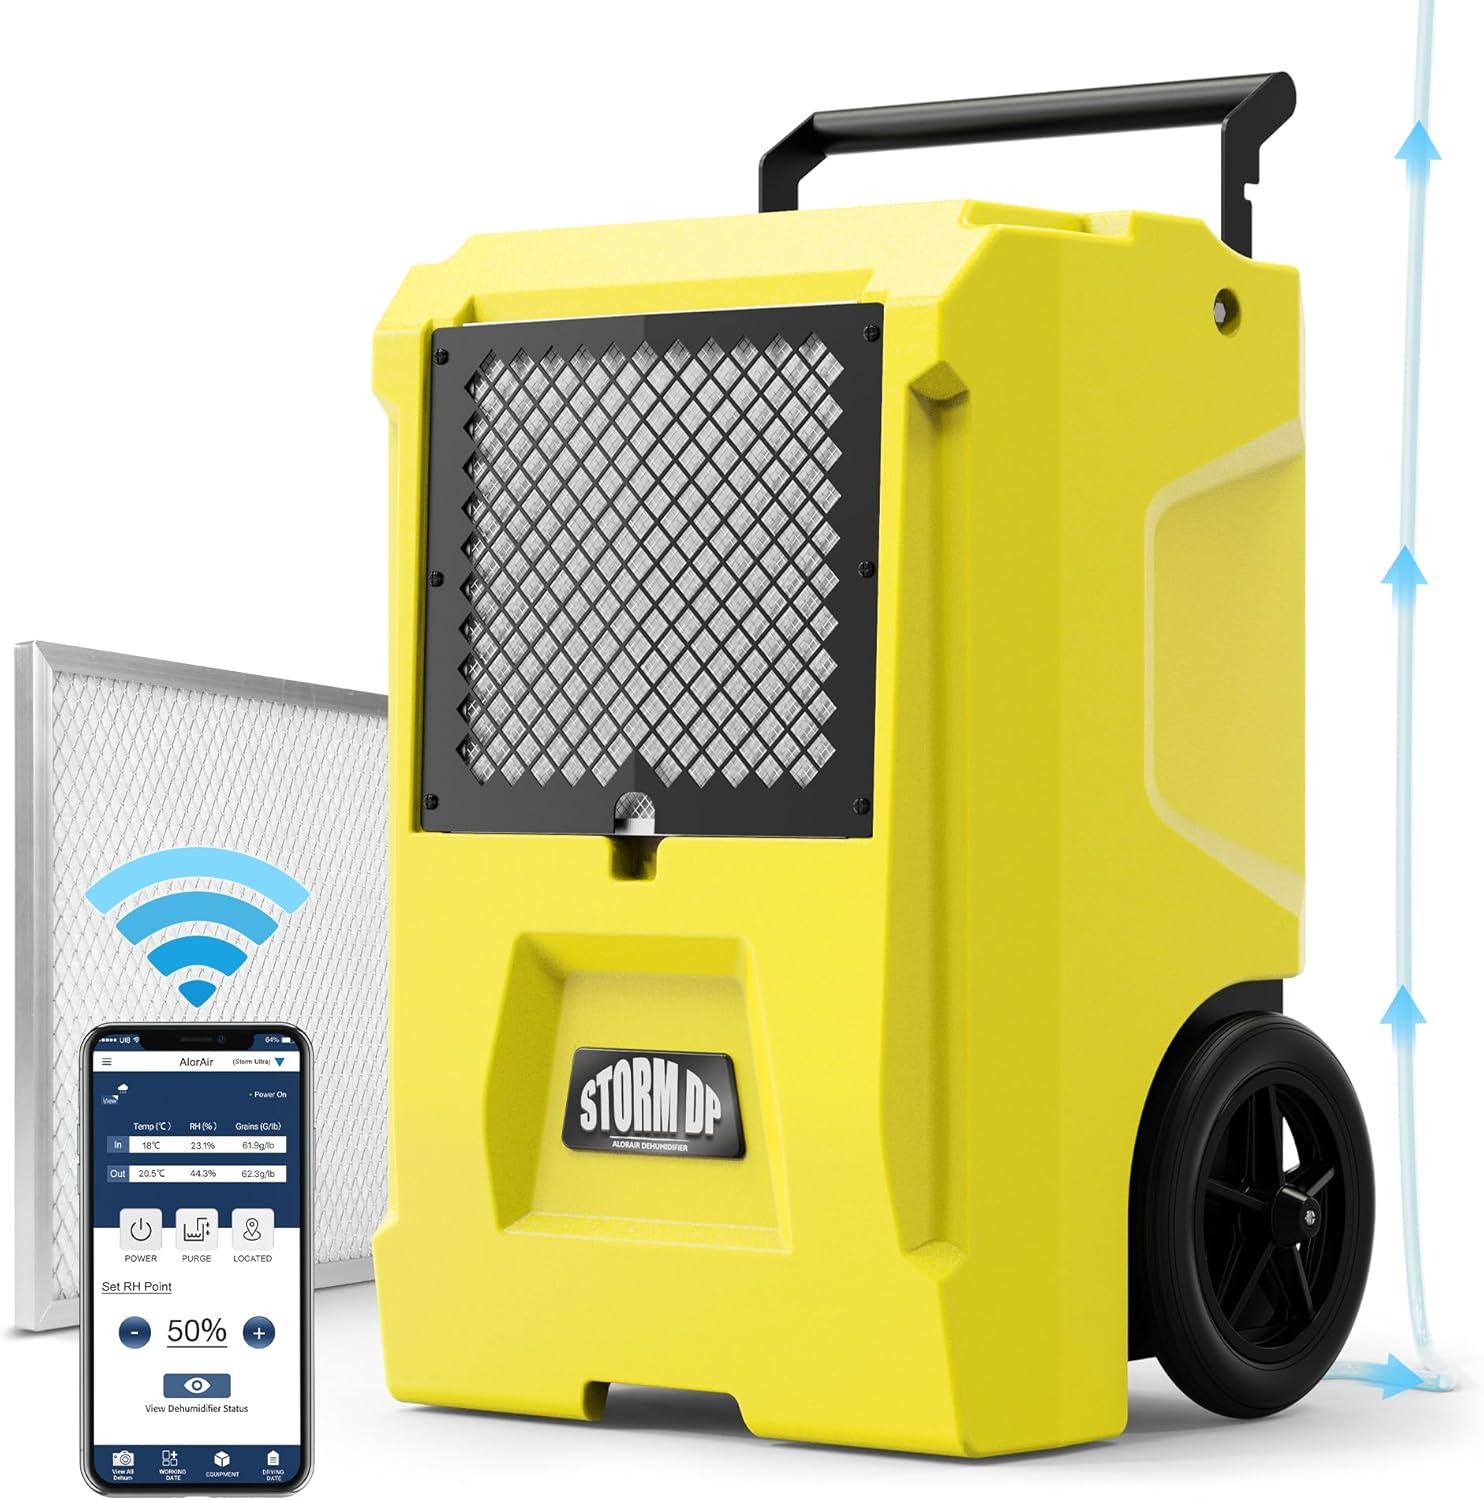
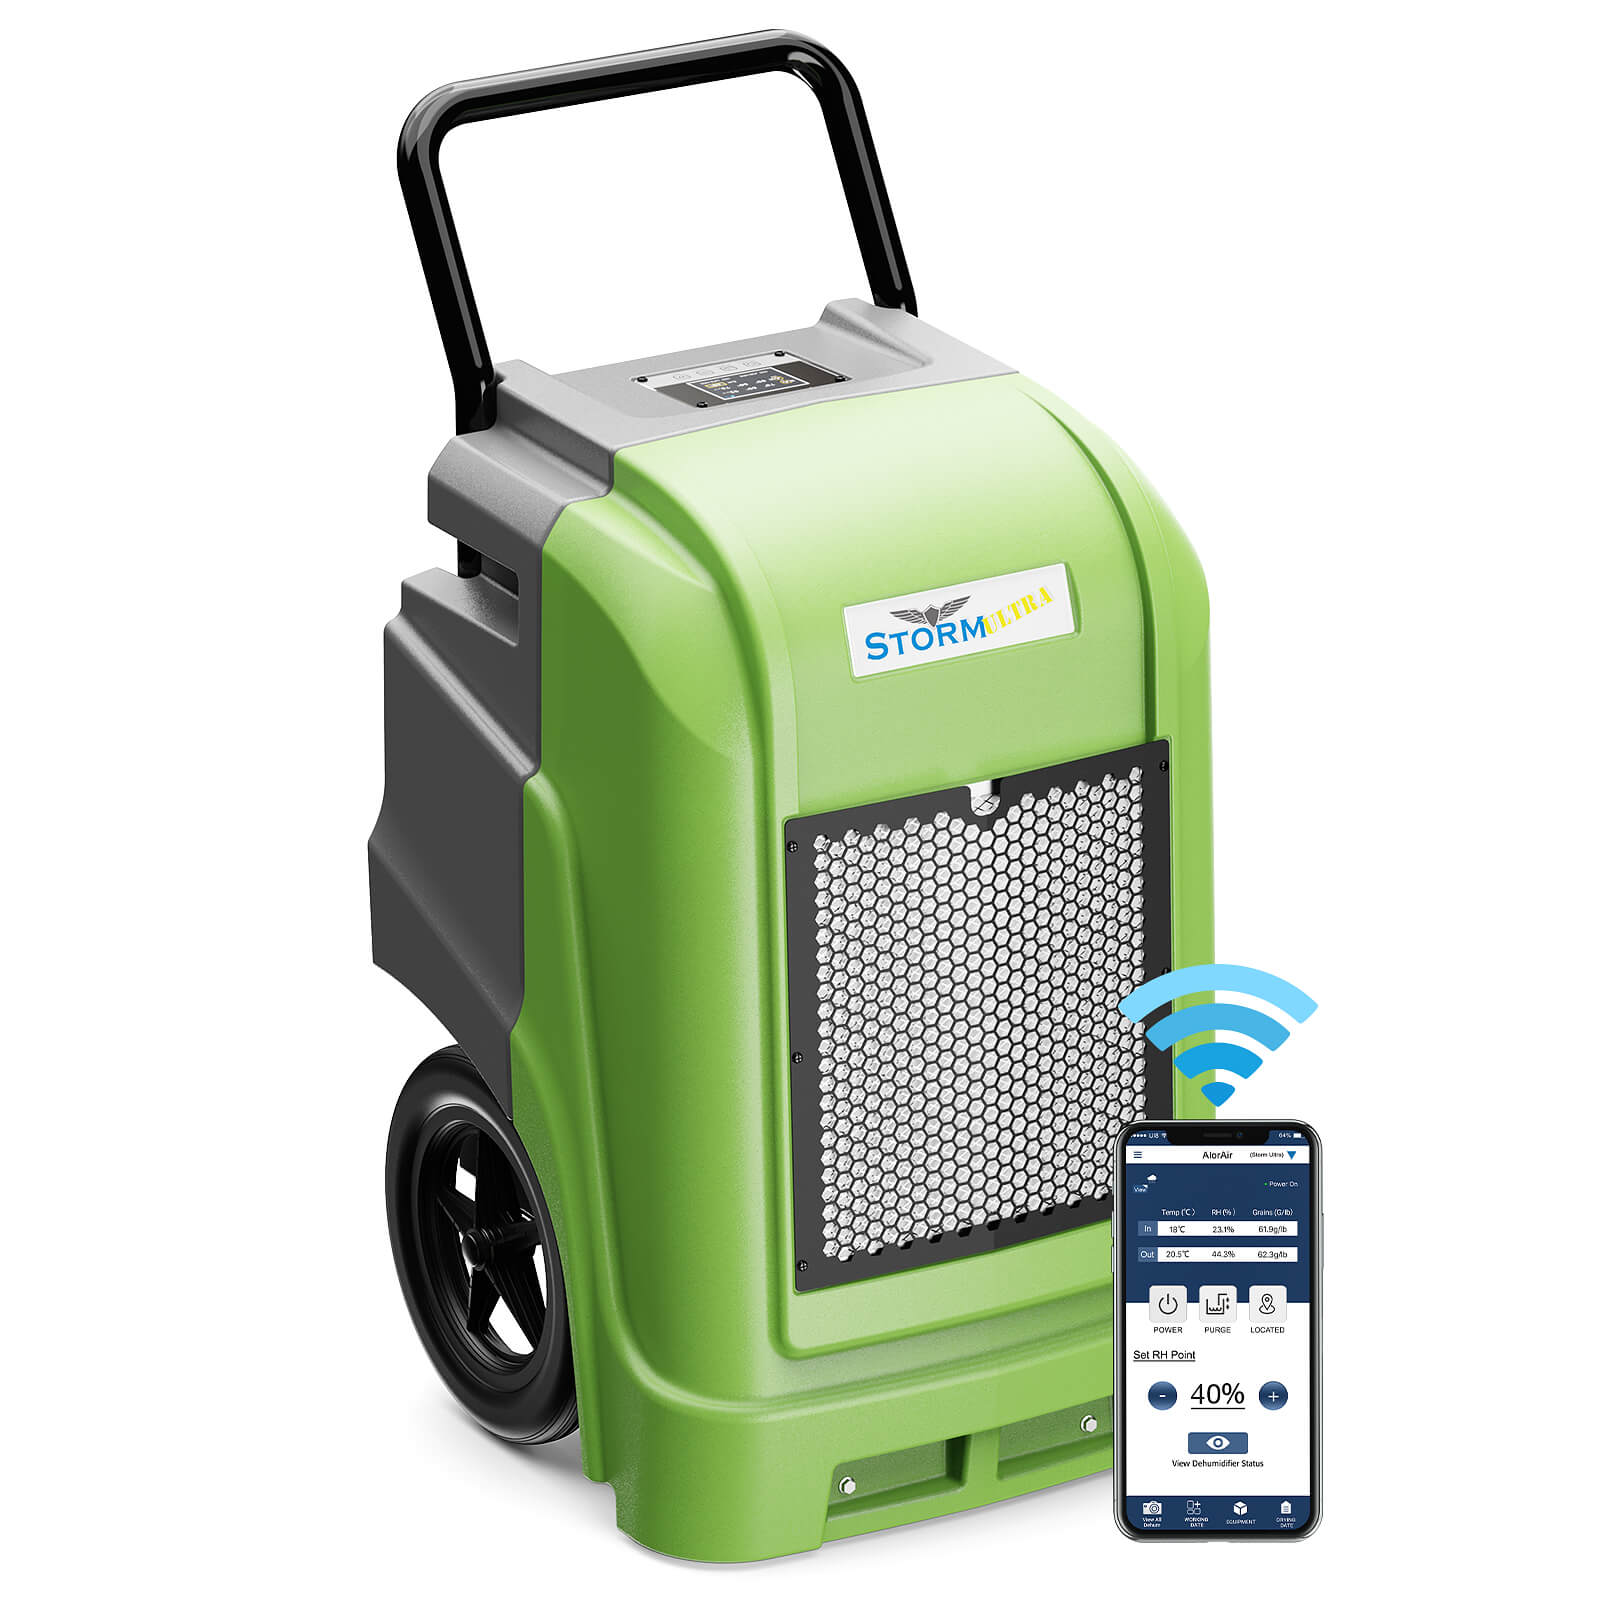
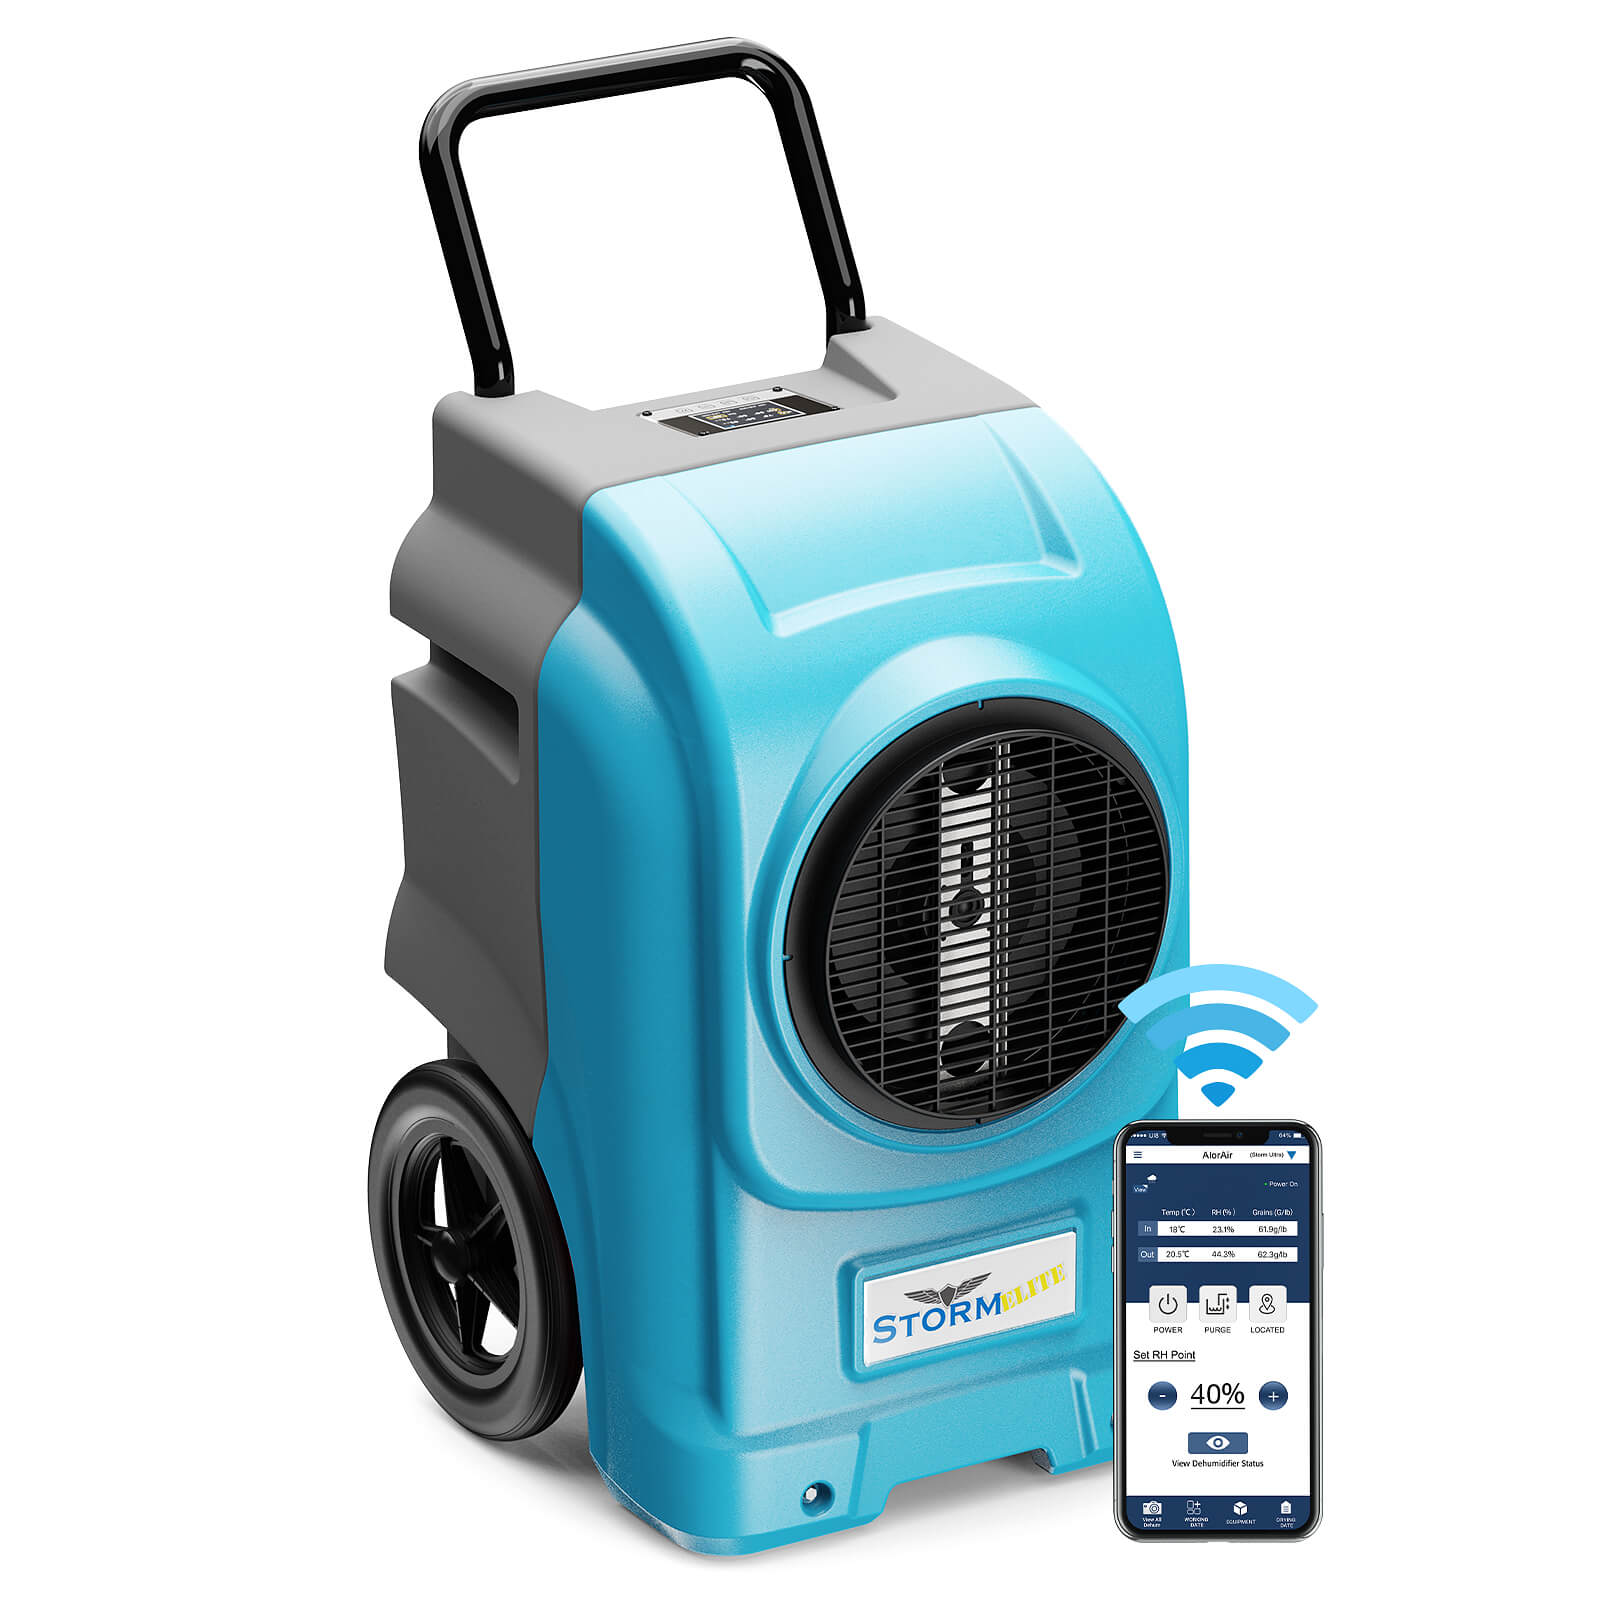
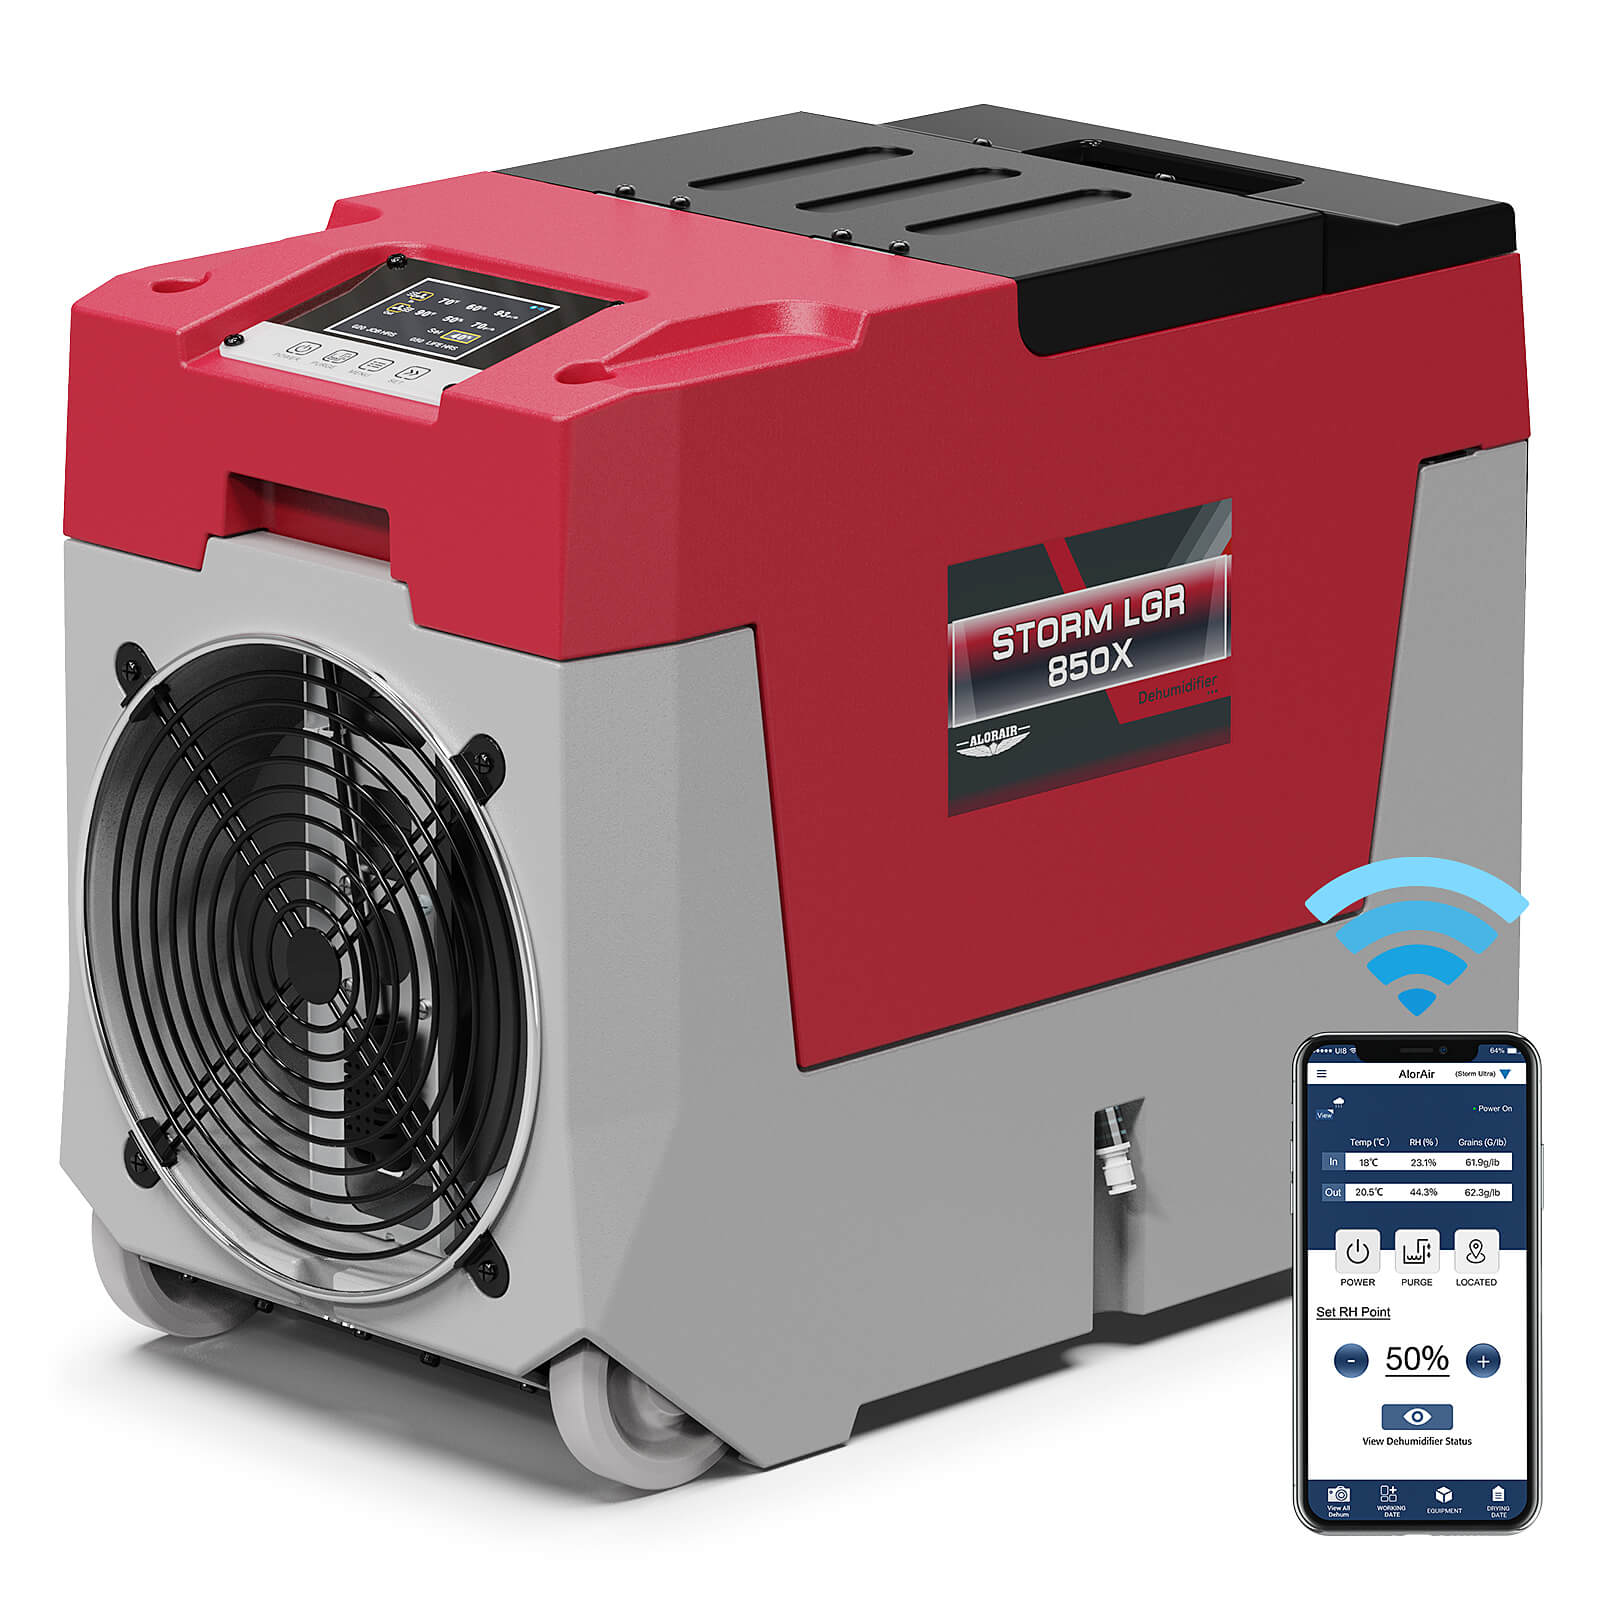
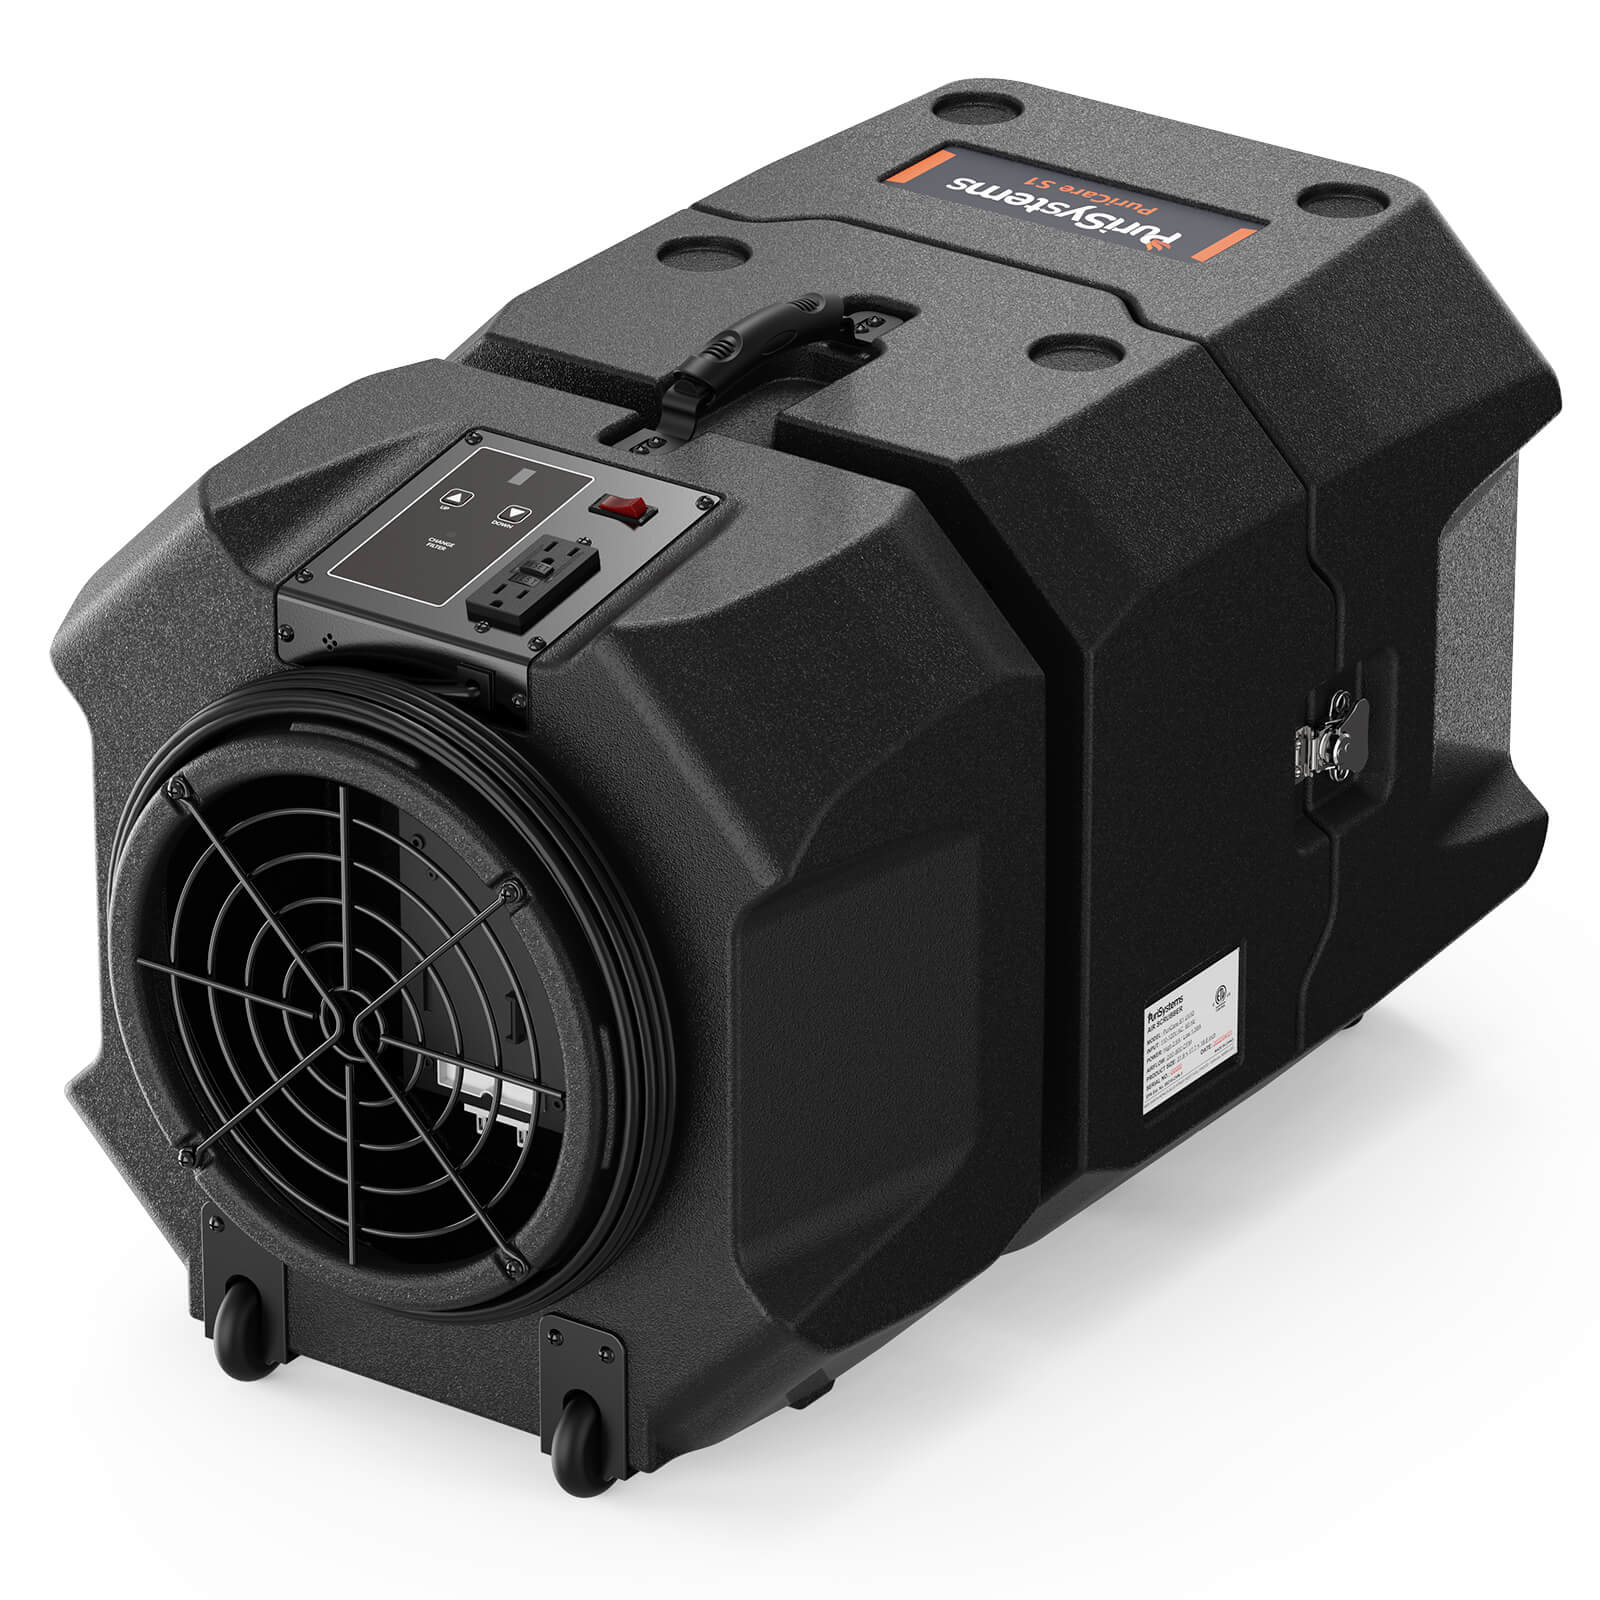
- • The Alorair Crawl Space Dehumidifier has a built-in control panel on the front panel that allows you to visually adjust its settings. Below that are the A1-A6 terminals if you are connecting external fan/water pump/HVAC system. The internet port serves to connect the remote control. This eliminates the need to access your crawl space every time you need to adjust the dehumidifier.
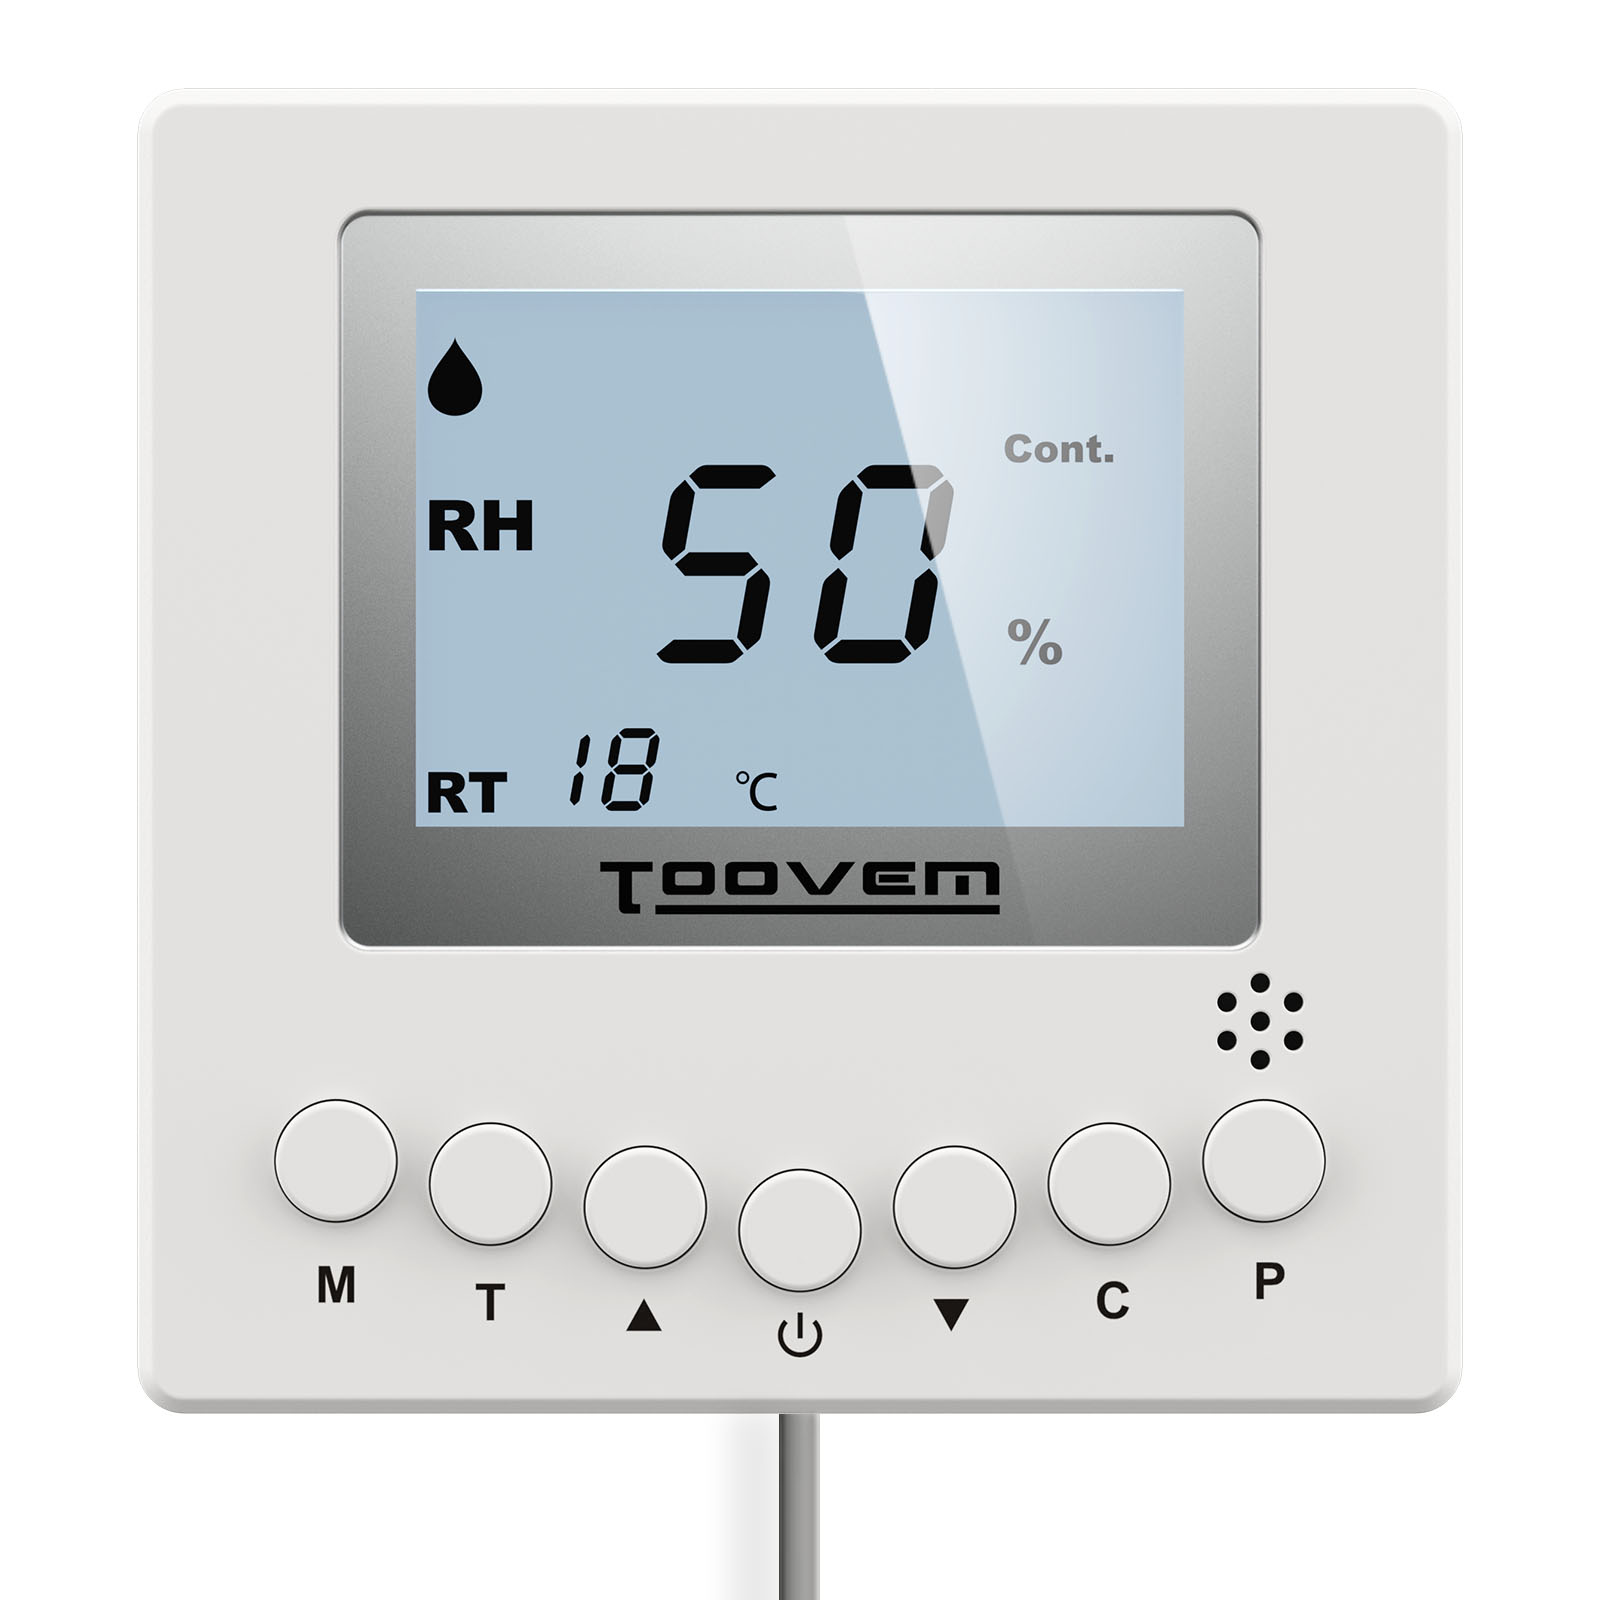
- • Upon powering your dehumidifier, you’ll find the percentage of humid air displayed on the panel. The remote control will set it to your desired relative crawl space humidity.
Post-Installation Checks and Operation
Double-check all hose connections for leaks. Tighten any loose connections with the adjustable wrench.
Ensure the air filter is clean and properly installed, which determines air quality.
Monitor your electricity bills after the installation. Alorair crawl space dehumidifiers have optimal energy efficiency.
Testing and Operation of Crawl Space Dehumidifiers
Please turn on the crawl space dehumidifier and observe its operation. Listen for any unusual noises or vibrations. The unit should operate smoothly and quietly, reducing humid air.
Monitor the humidity level in your crawl space over the next few days. Adjust the humidity setting on your Alorair dehumidifier to achieve the optimal level of moisture control.
Conclusion
Installing best crawl space dehumidifier and encapsulation will greatly enhance your home’s overall indoor air quality by maintaining optimal relative humidity levels. A drier atmosphere prevents mold growth and structural damage and also lowers allergens, making your home healthier for you and your family to live in.
